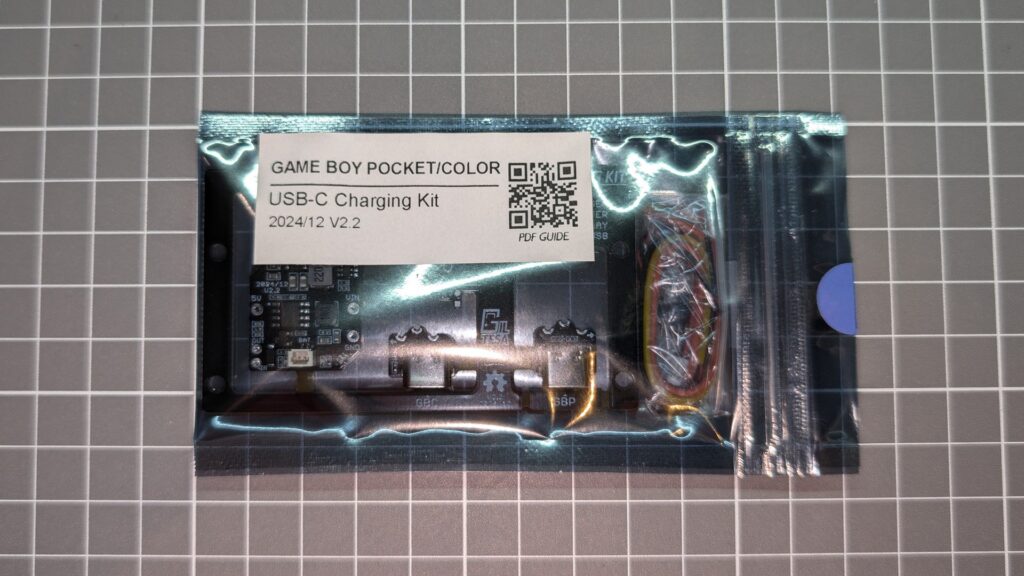
Description
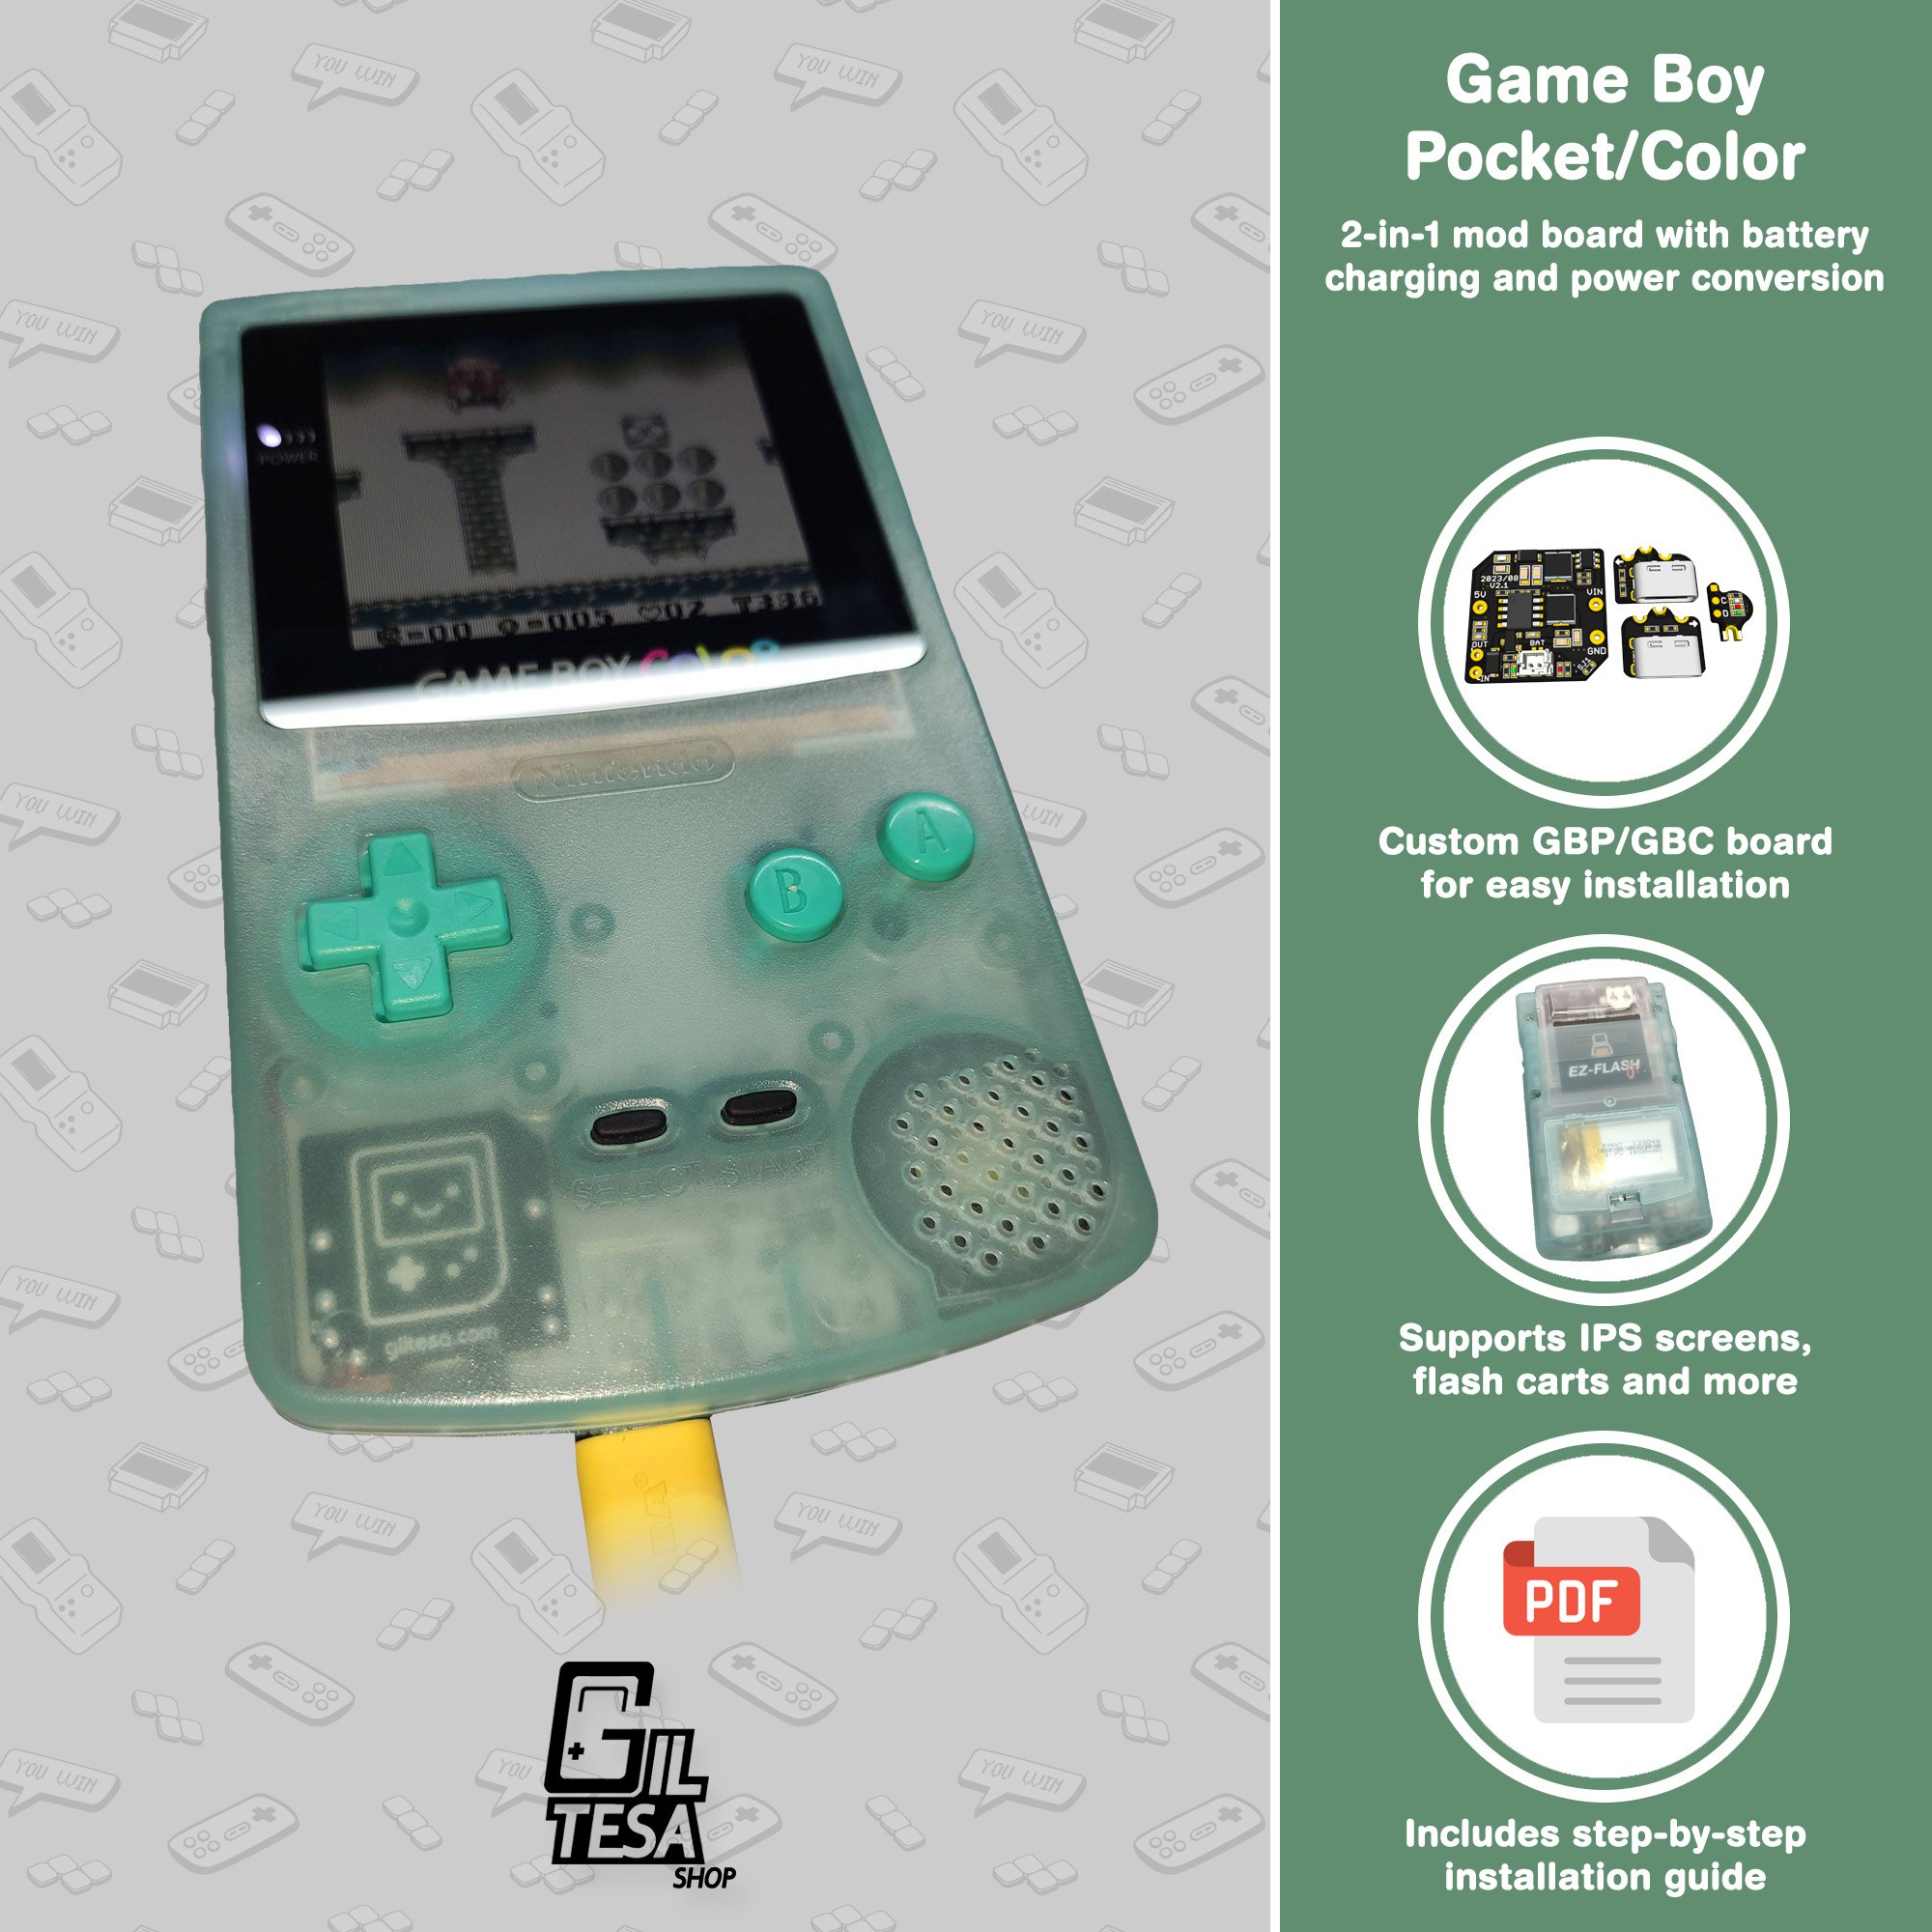
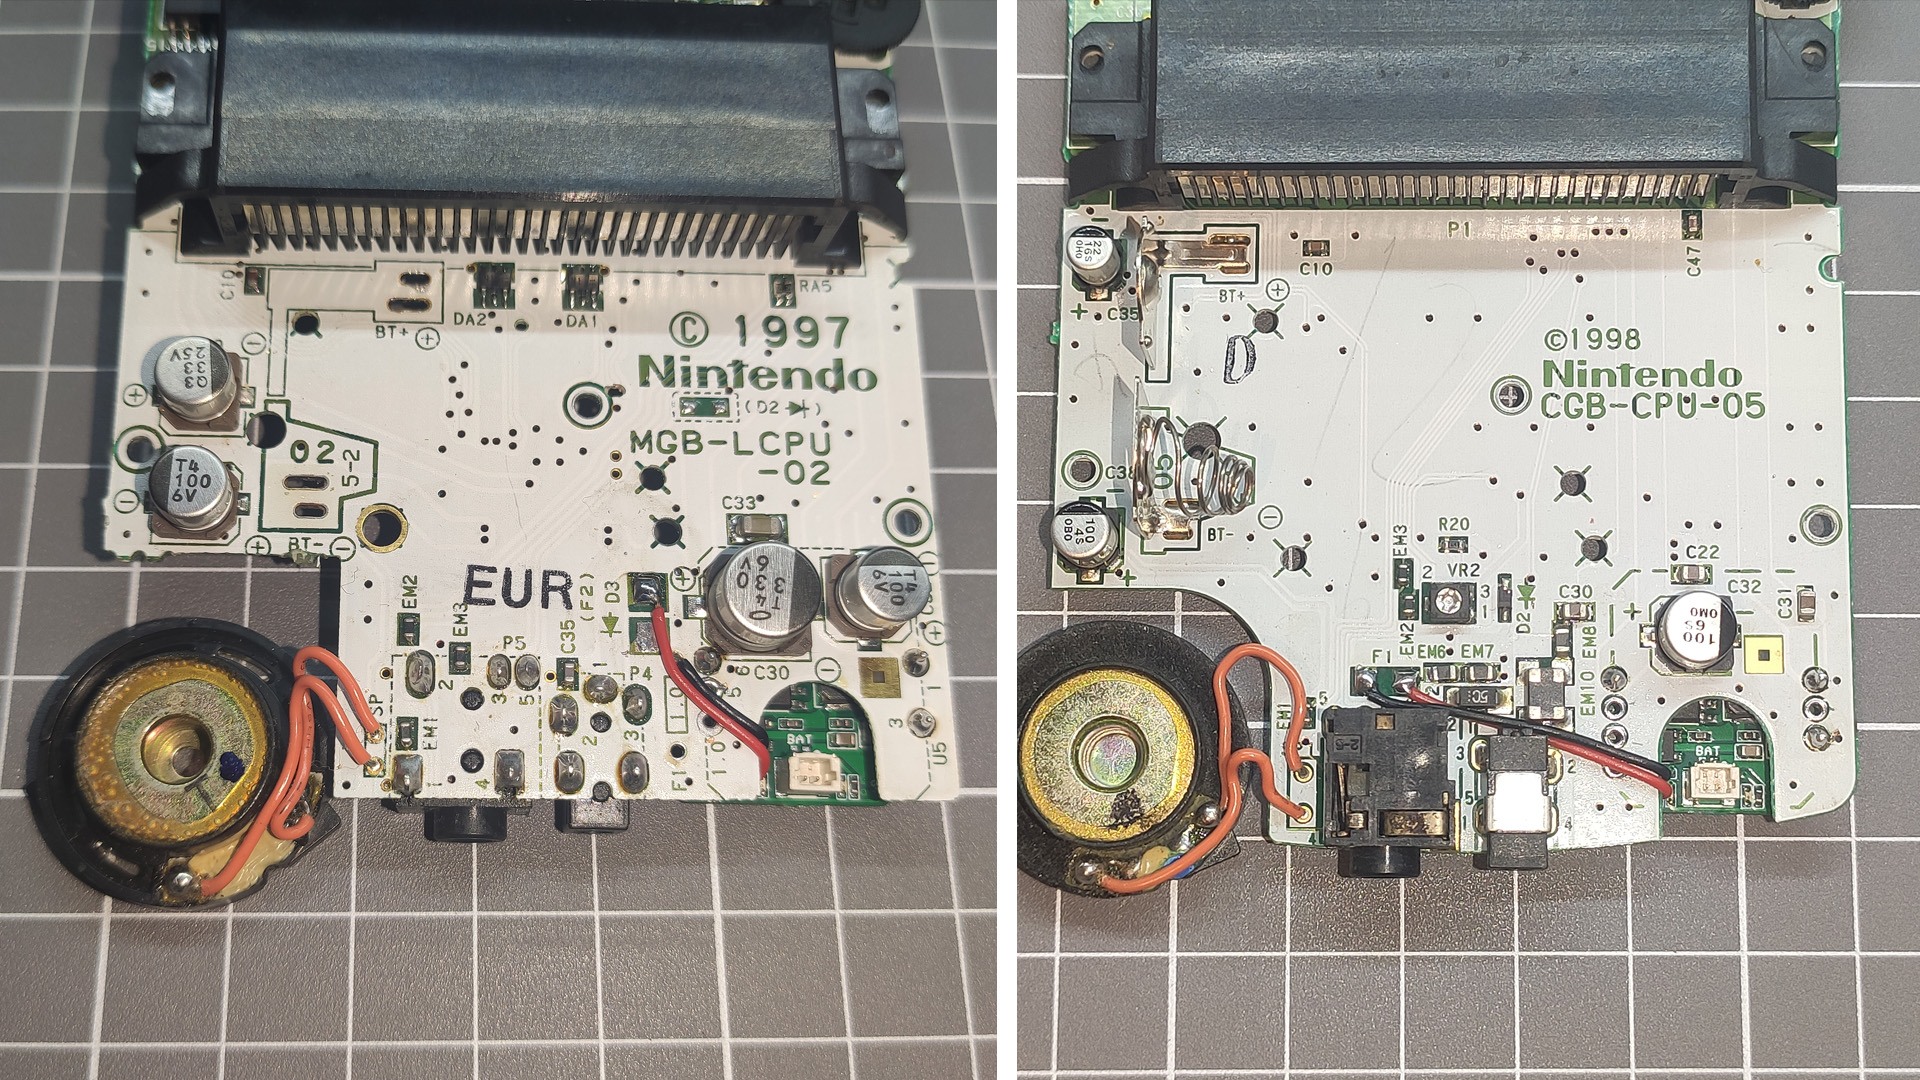
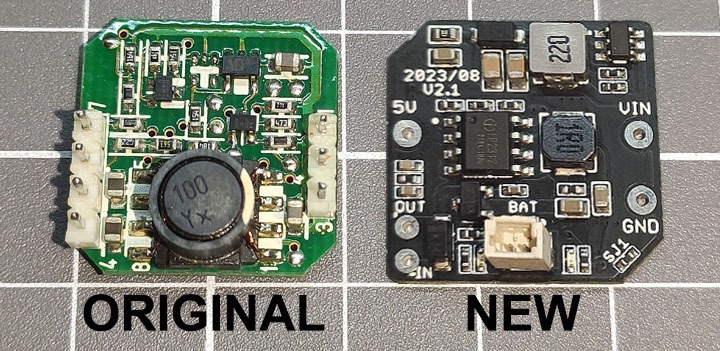
The Game Boy Pocket/Color: USB-C Charging Kit, or GB2 as we like to call it, is a circuit that replaces the original power board of the Game Boy Pocket and Game Boy Color.
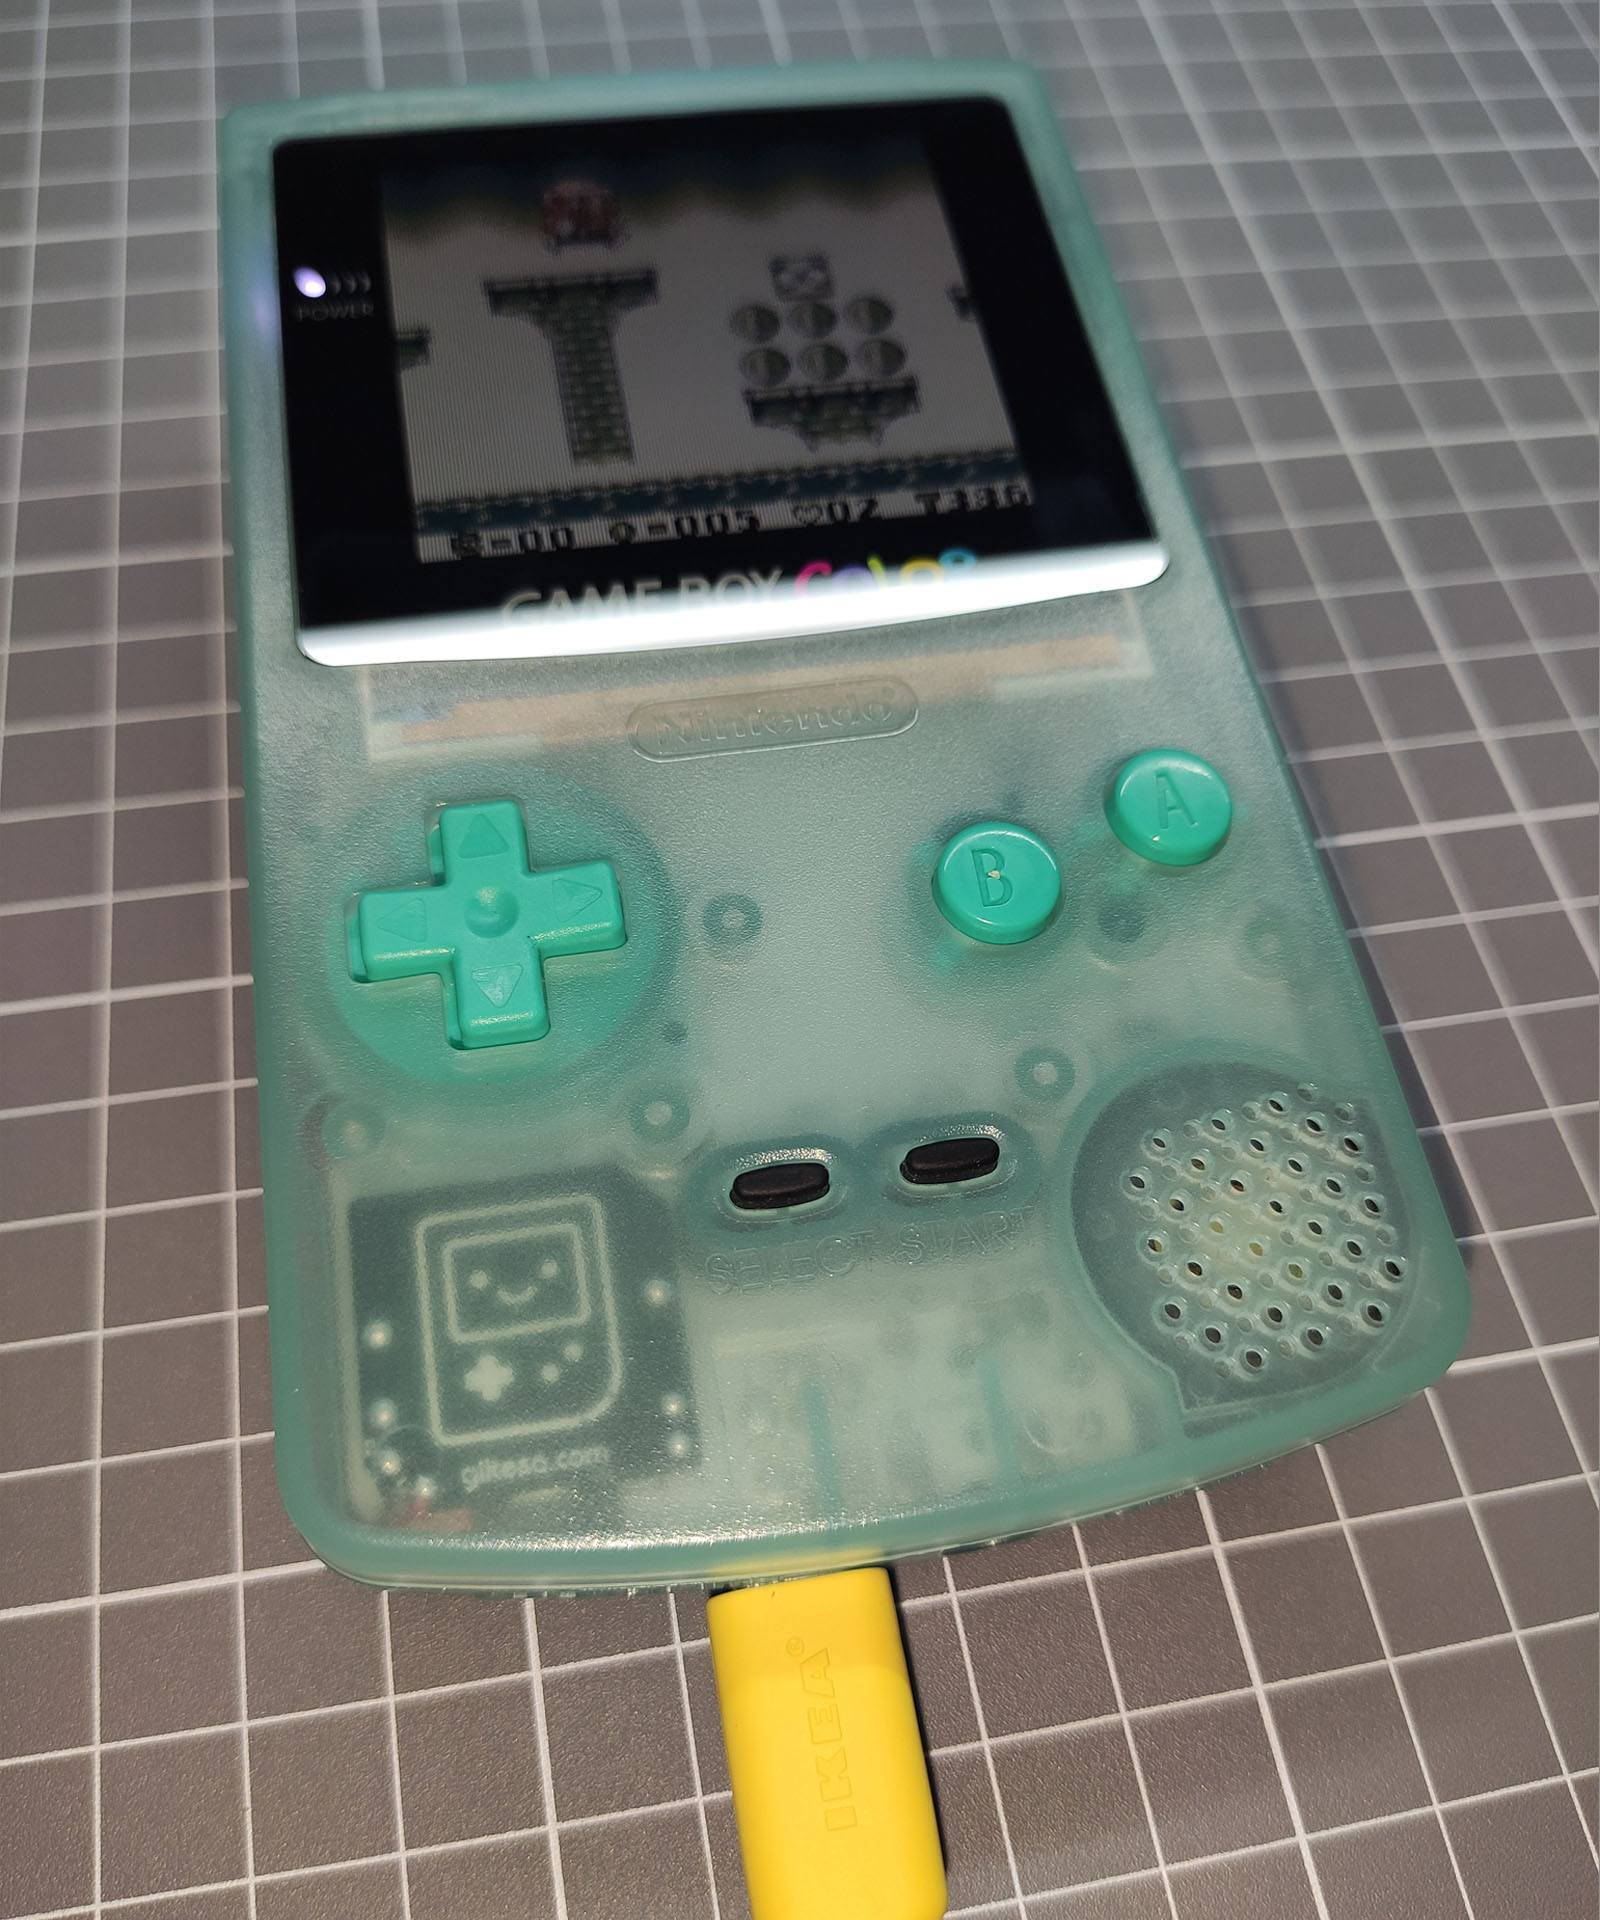
This circuit is a multi-device and versatile board with multiple installation options. This means that this kit can be used for both Game Boy models, and you can decide whether you want to power your console with AA/AAA batteries or a rechargeable Li-ion battery. You can also choose between using the original 2.5mm DC power connector or replacing it with USB-C. Additionally, you have the option to install a light board that will indicate the status of the console and battery, all from the original hole on the console, next to the screen.
FEATURES
- Exact shape for Game Boy Pocket & Game Boy Color.
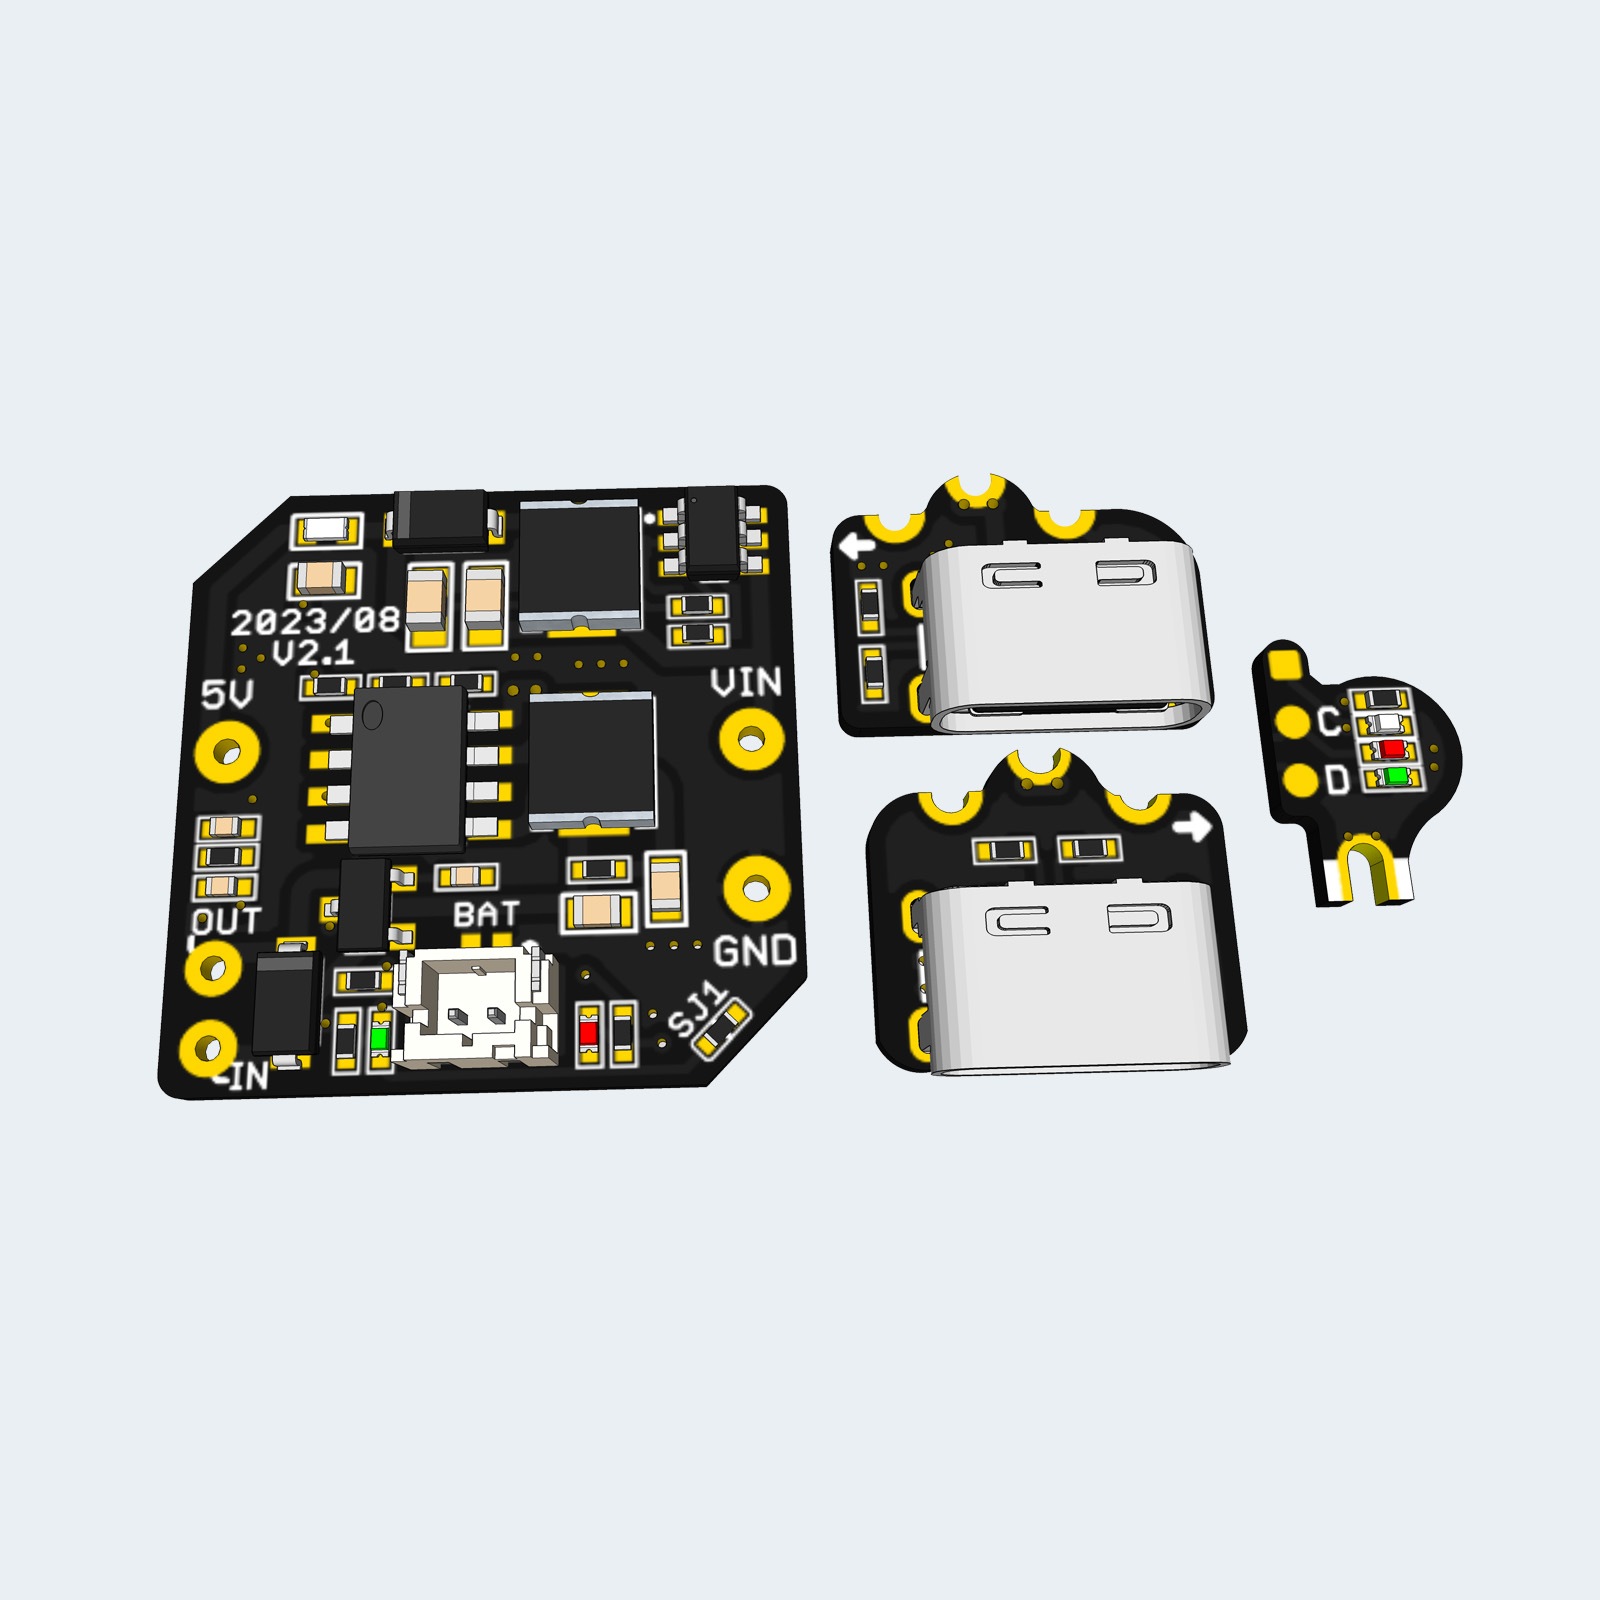
- Power DC converter with a 5V output. (1)
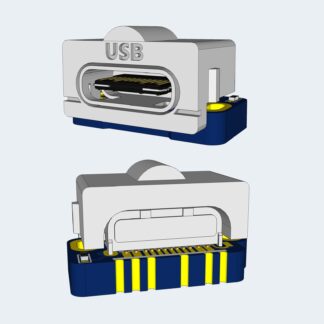
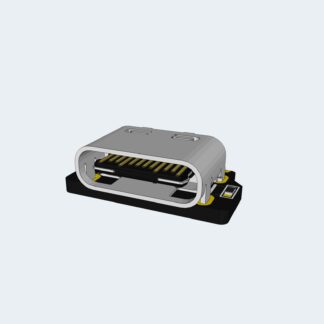
- External power through a 2.5mm DC jack or USB-C. (2)
- Li-Ion battery charger with overvoltage and undervoltage protection. (2)
- Safe charge and play.
- Integrated LED indicators on the main board, next to the battery connector, for charging (red) and full battery (green). These can be disabled via the SJ1 jumper.
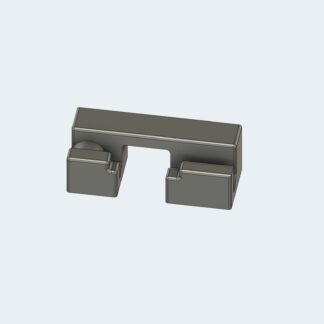
- External LED indicators board for playing (white), charging (red), and full battery (green). Optional installation.
(1) Provides stable power to your Game Boy, IPS screen, and flash cart. However, it doesn’t supply the -19V rail, which means the stock screen or GBP IPS screen, which adjusts brightness through the contrast wheel, will not be able to change the brightness level and will remain at its maximum level.
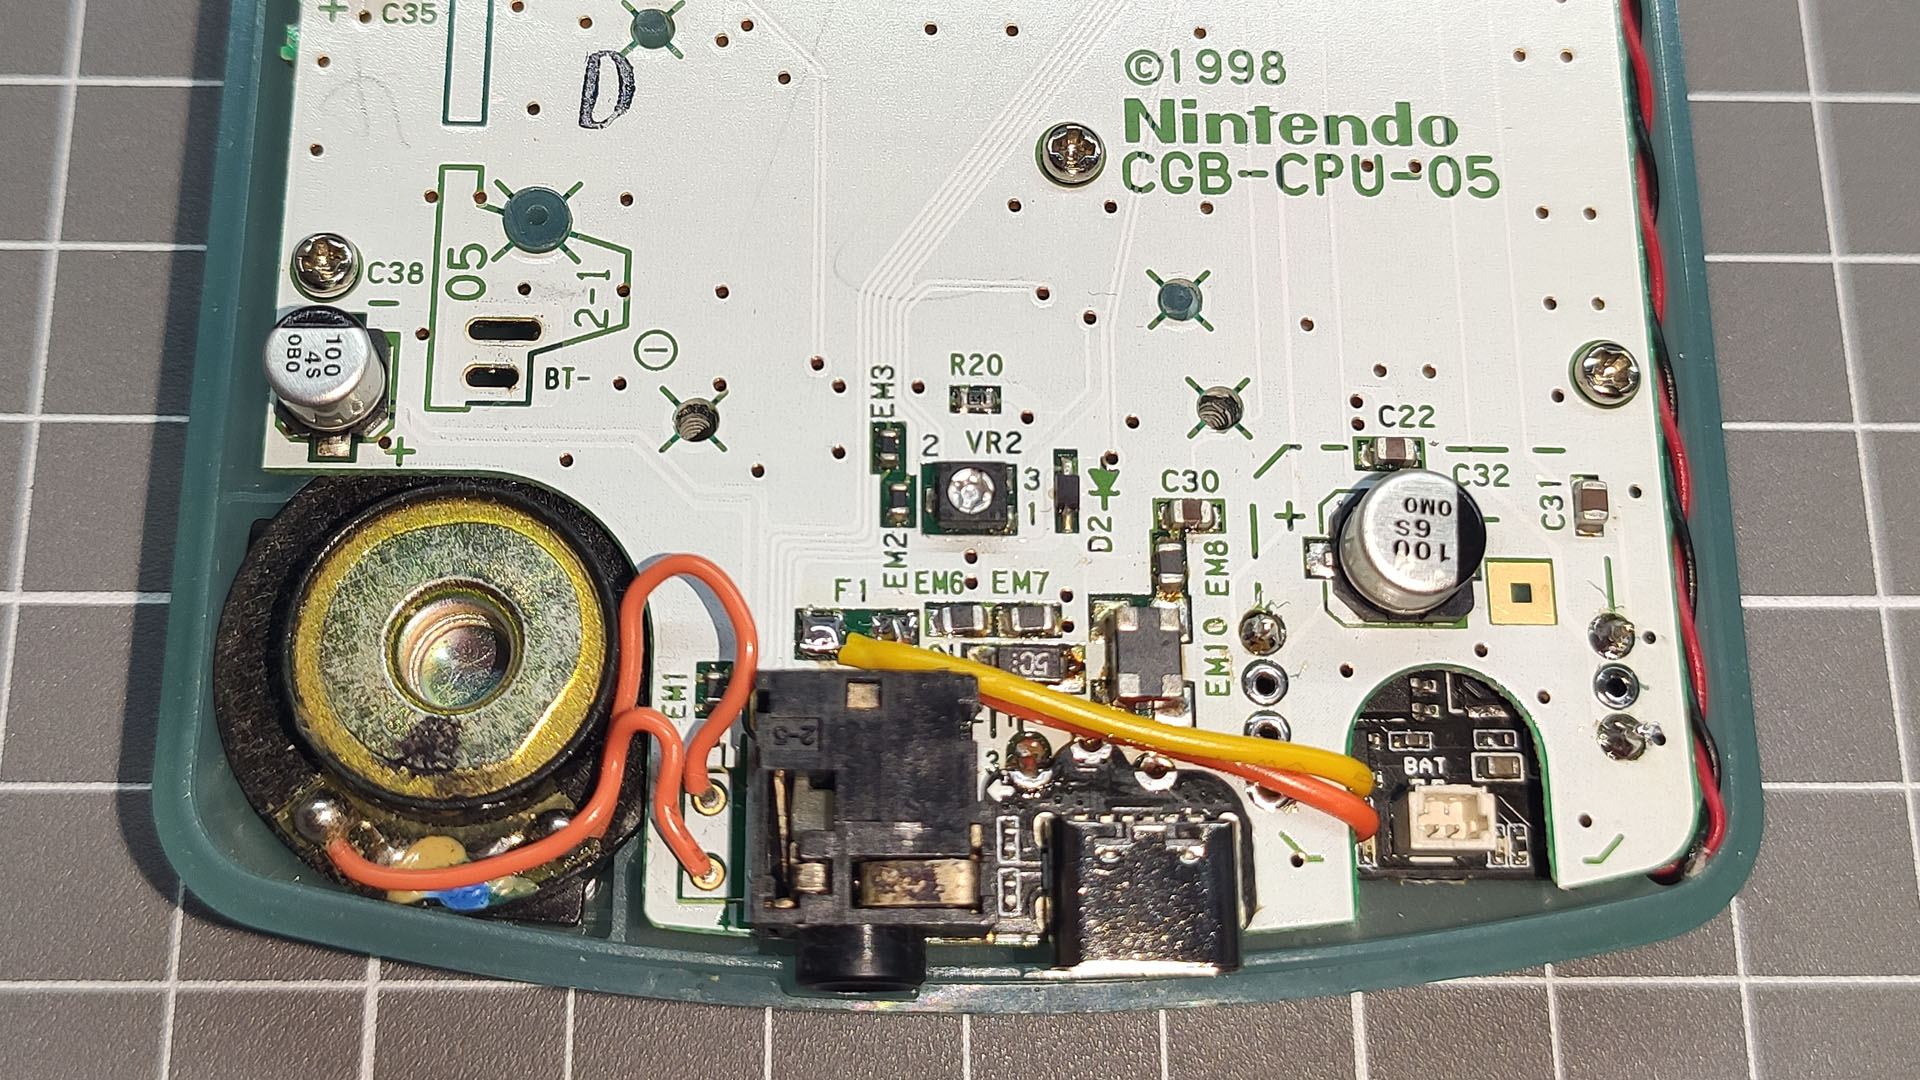
(2) The USB-C port and Li-ion battery require trimming of the shell. Please refer to the PDF installation manual for more information.
INCLUDED
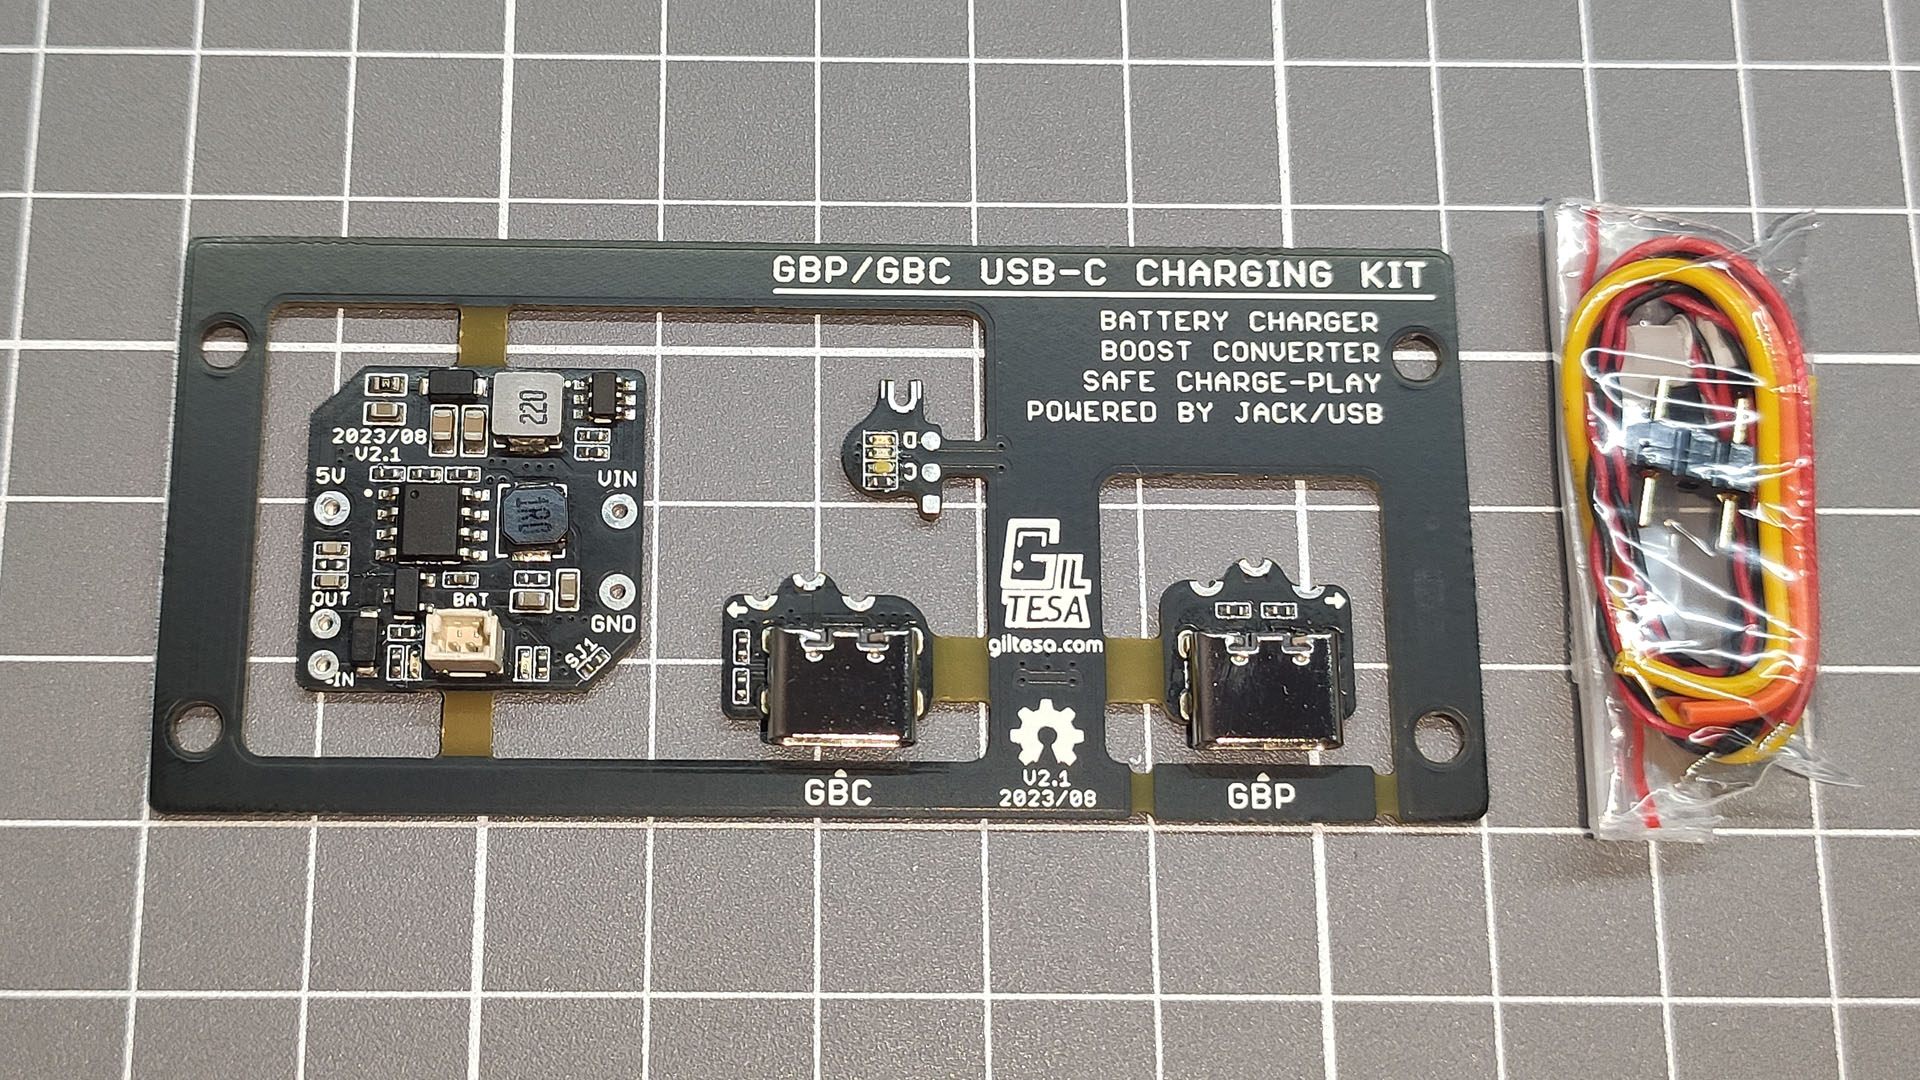
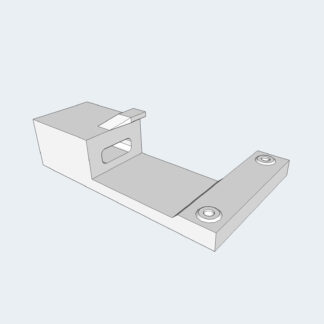
- 1 frame panel which includes the four boards:
- Main board.
- Light board.
- GBP USB-C board.
- GBC USB-C board.
- 2 headers with 1 pin & 2 pins.
- 1 battery cable (with JST SH1.0 connector)
- 2 short cables for Li-ion battery charger feature.
- 1 two-wire cable for connecting the light board.
- 1 light diffuser pipe.
REQUIRED (NOT INCLUDED)
- Li-ion battery (for example, the 102050 for GBP or the 123048 for GBC)
- GBC cutting tool (optional but recommended)
- Tri-wing and Phillips screwdriver
- Cutting pliers
- Cutter
- Tweezers
- Soldering iron
- Tin
- Flux
- Isopropyl alcohol
NOTES
- The stock screen is not compatible with this module; only IPS screens will work with it.
- The contrast wheel doesn’t function because the -19V rail is not provided by this kit. This means that the GBP Retro Pixel IPS screen is unable to adjust its brightness. This board is recommended for IPS screens with a touch sensor designed for brightness control, for example, this one.
PRODUCT FEATURE OVERVIEW

Etsy Reviews (verified owner) –
Christian wrote: Appriciate the detailed guides. Everything is provided to carry out a successful mod