
Description
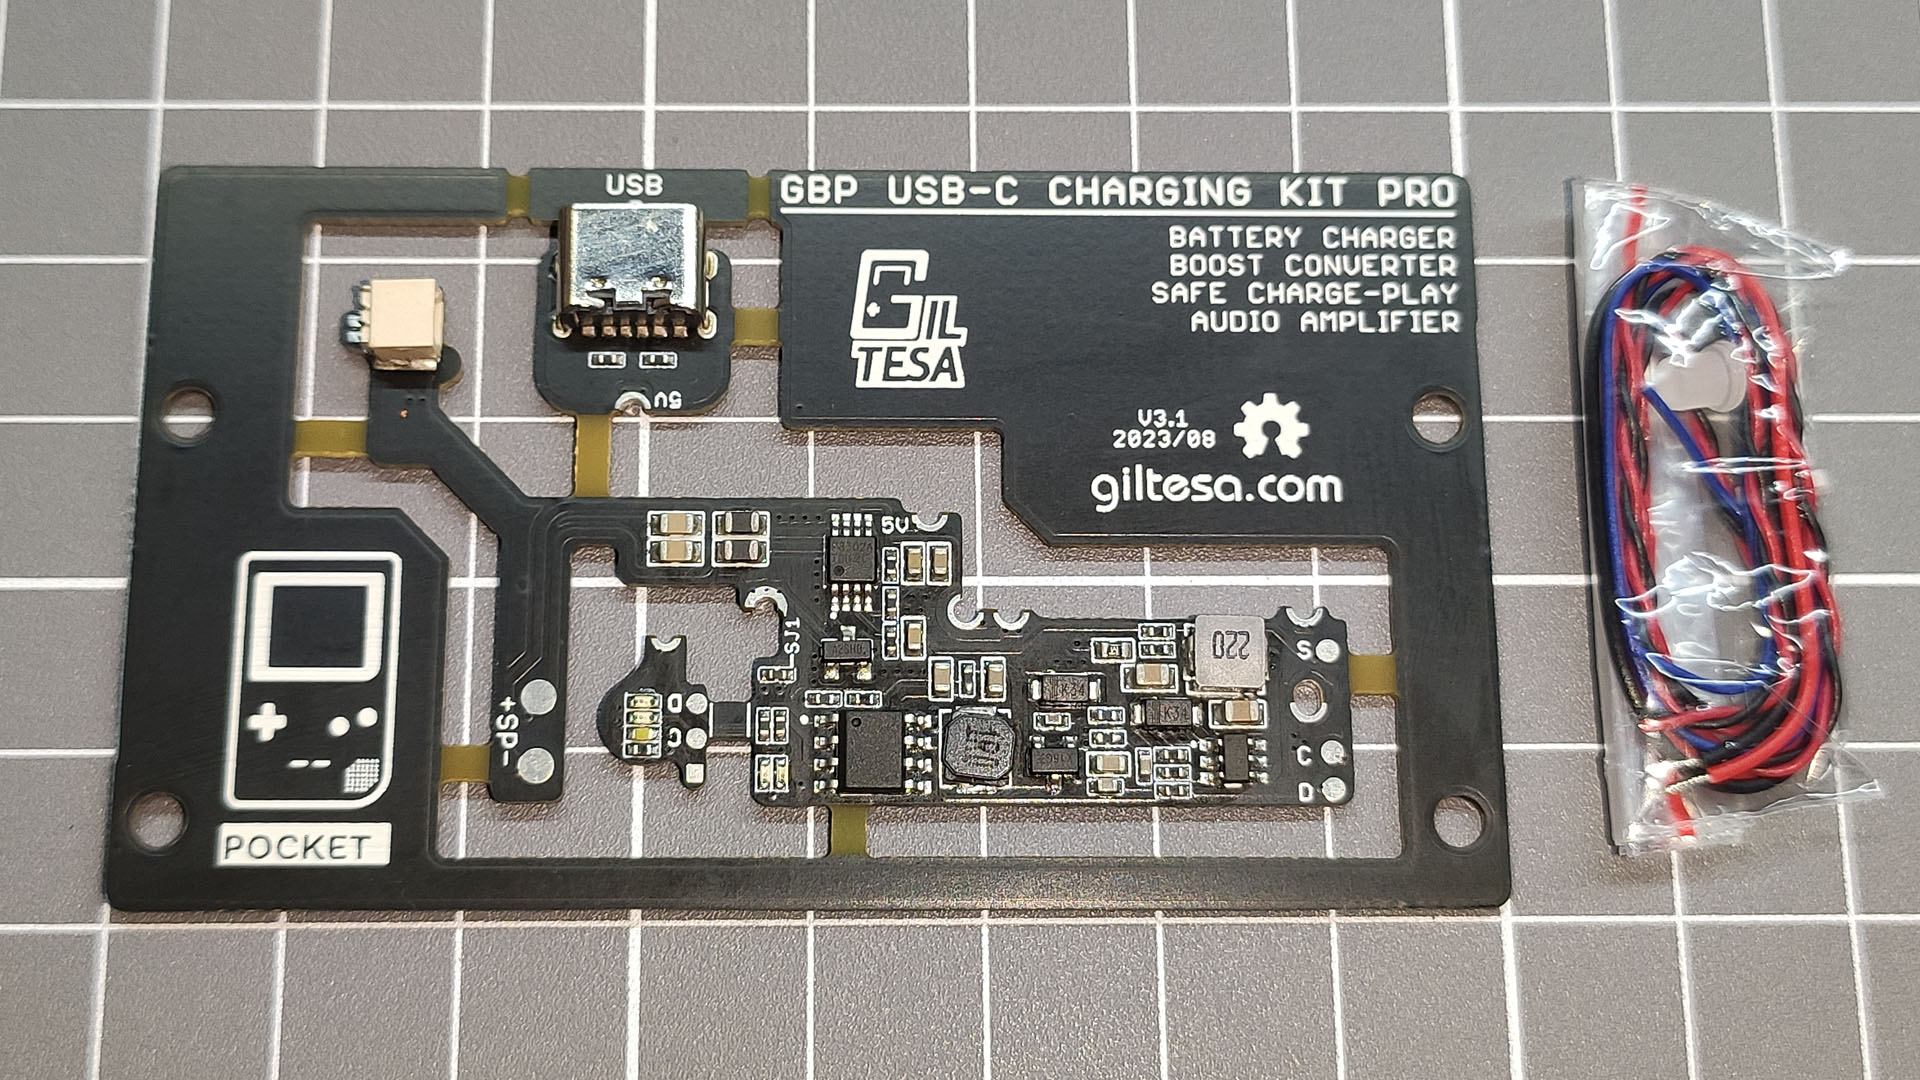
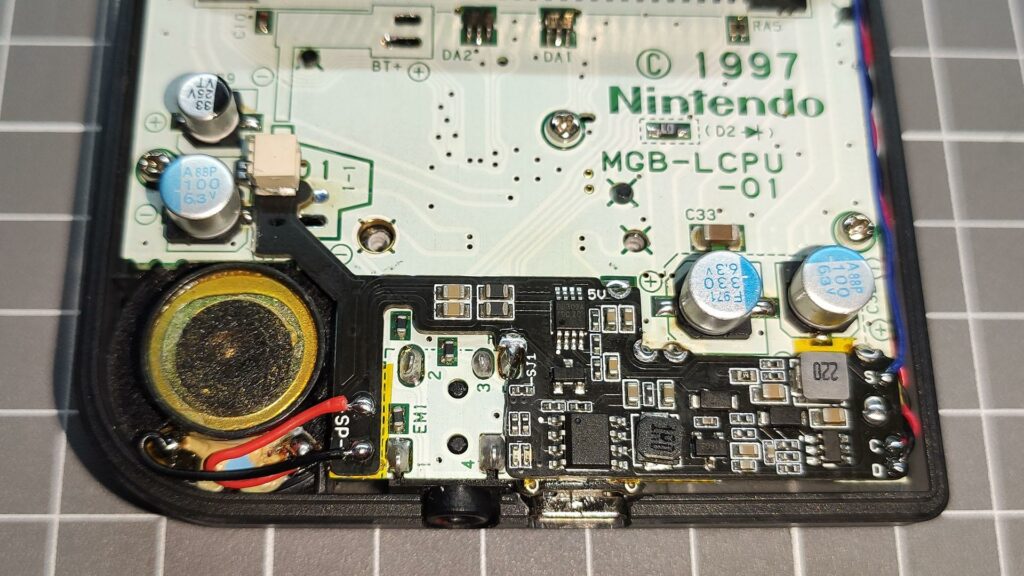
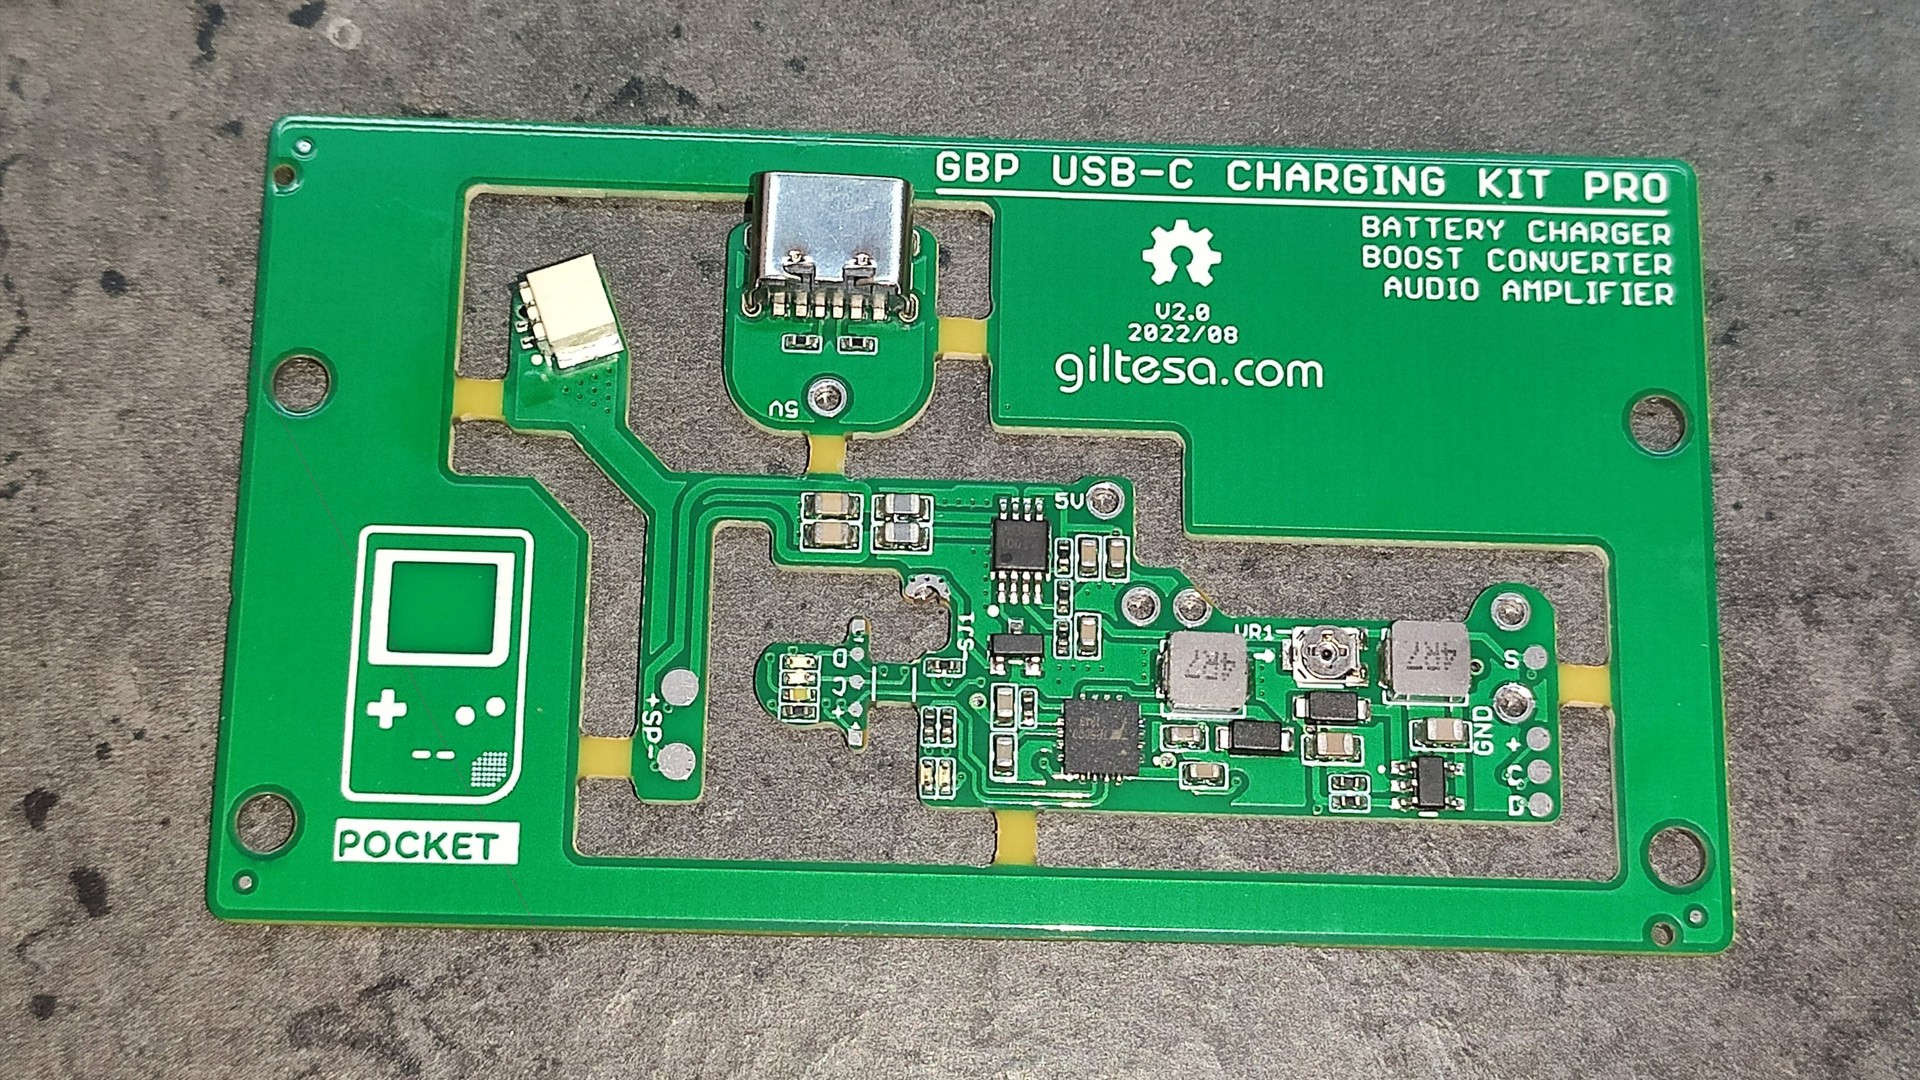
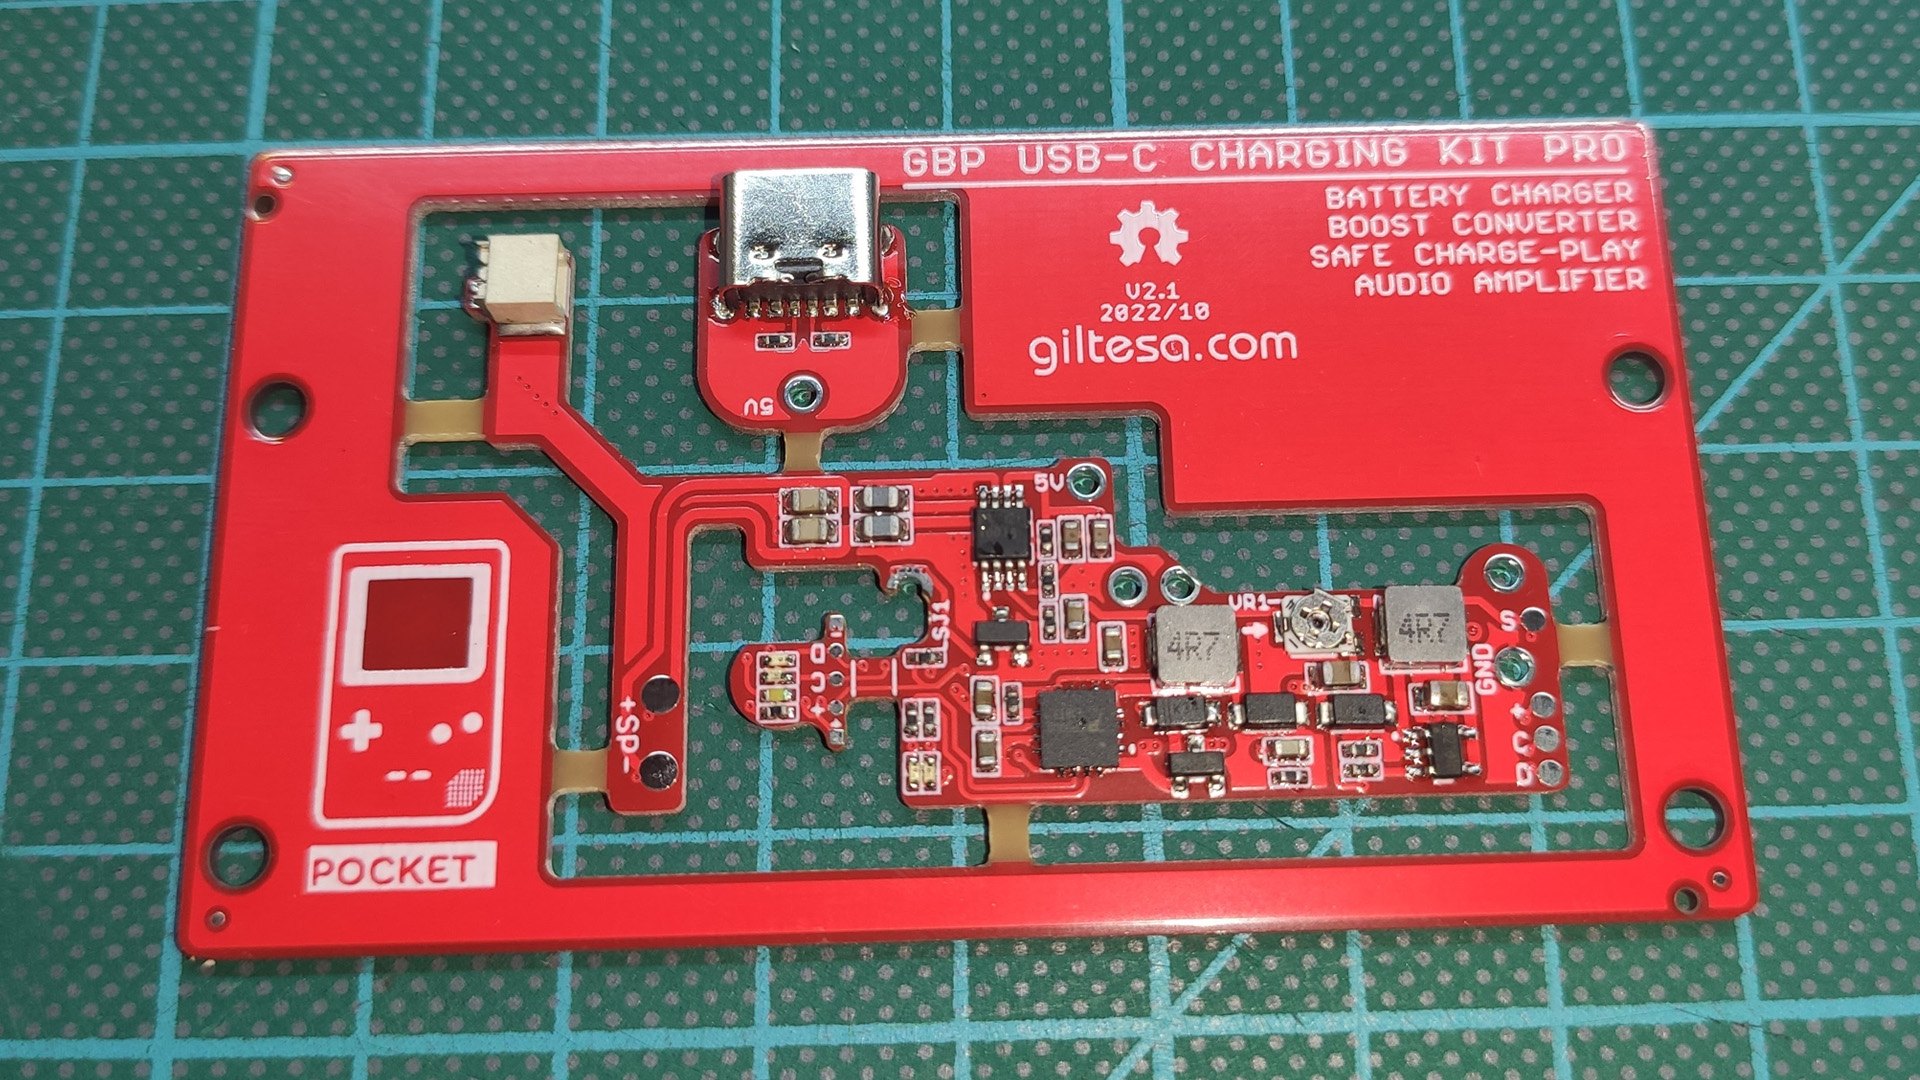
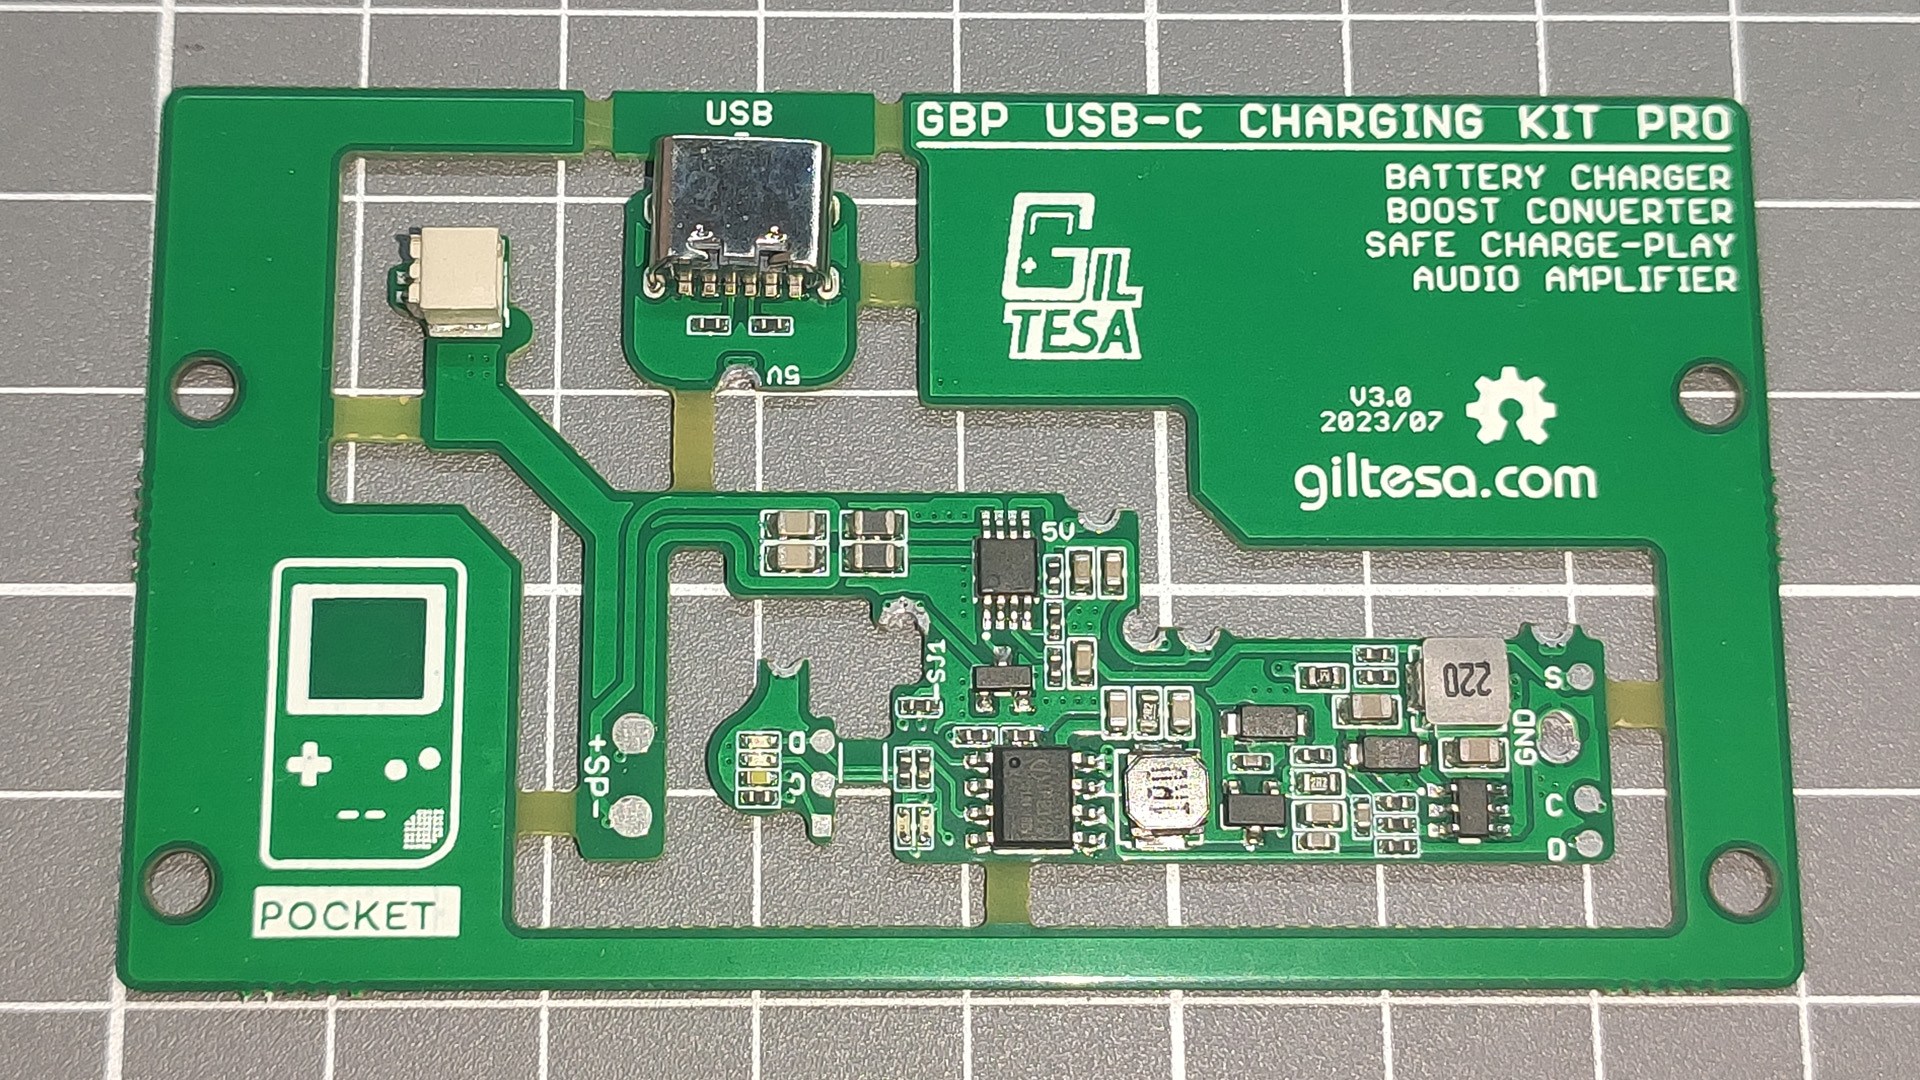
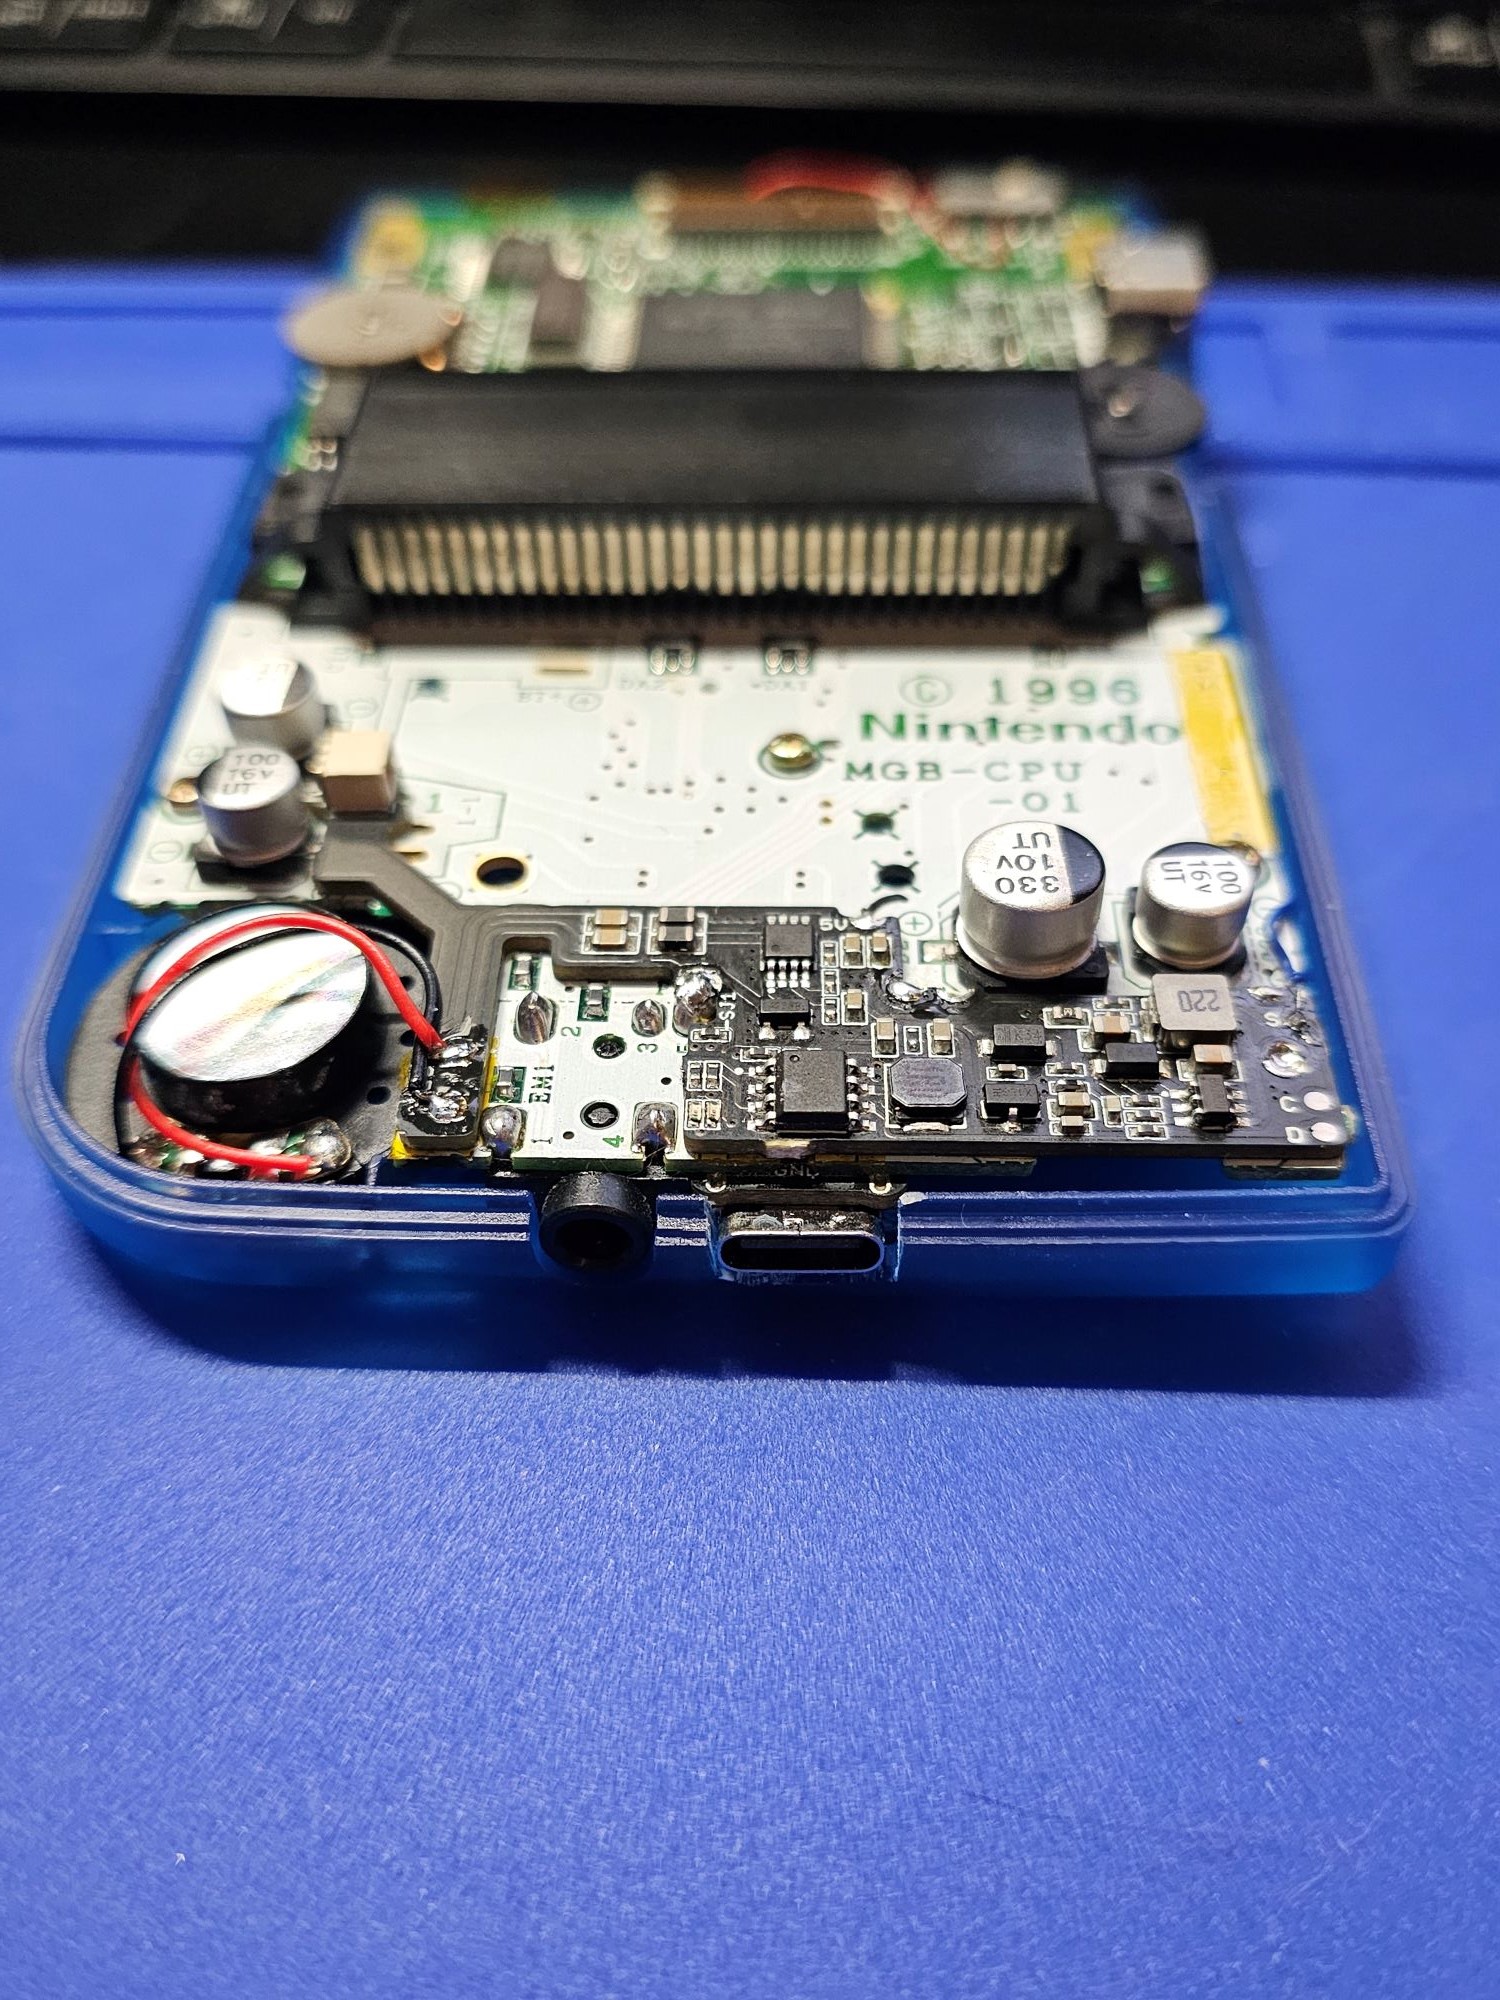
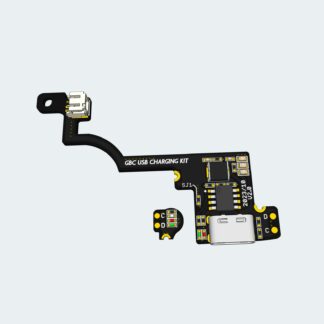
The Game Boy Pocket USB-C Charging Kit PRO is a new circuit designed specifically for the Nintendo Game Boy Pocket. This all-in-one circuit includes not only the charging controller but also a boost converter and an audio amplifier.
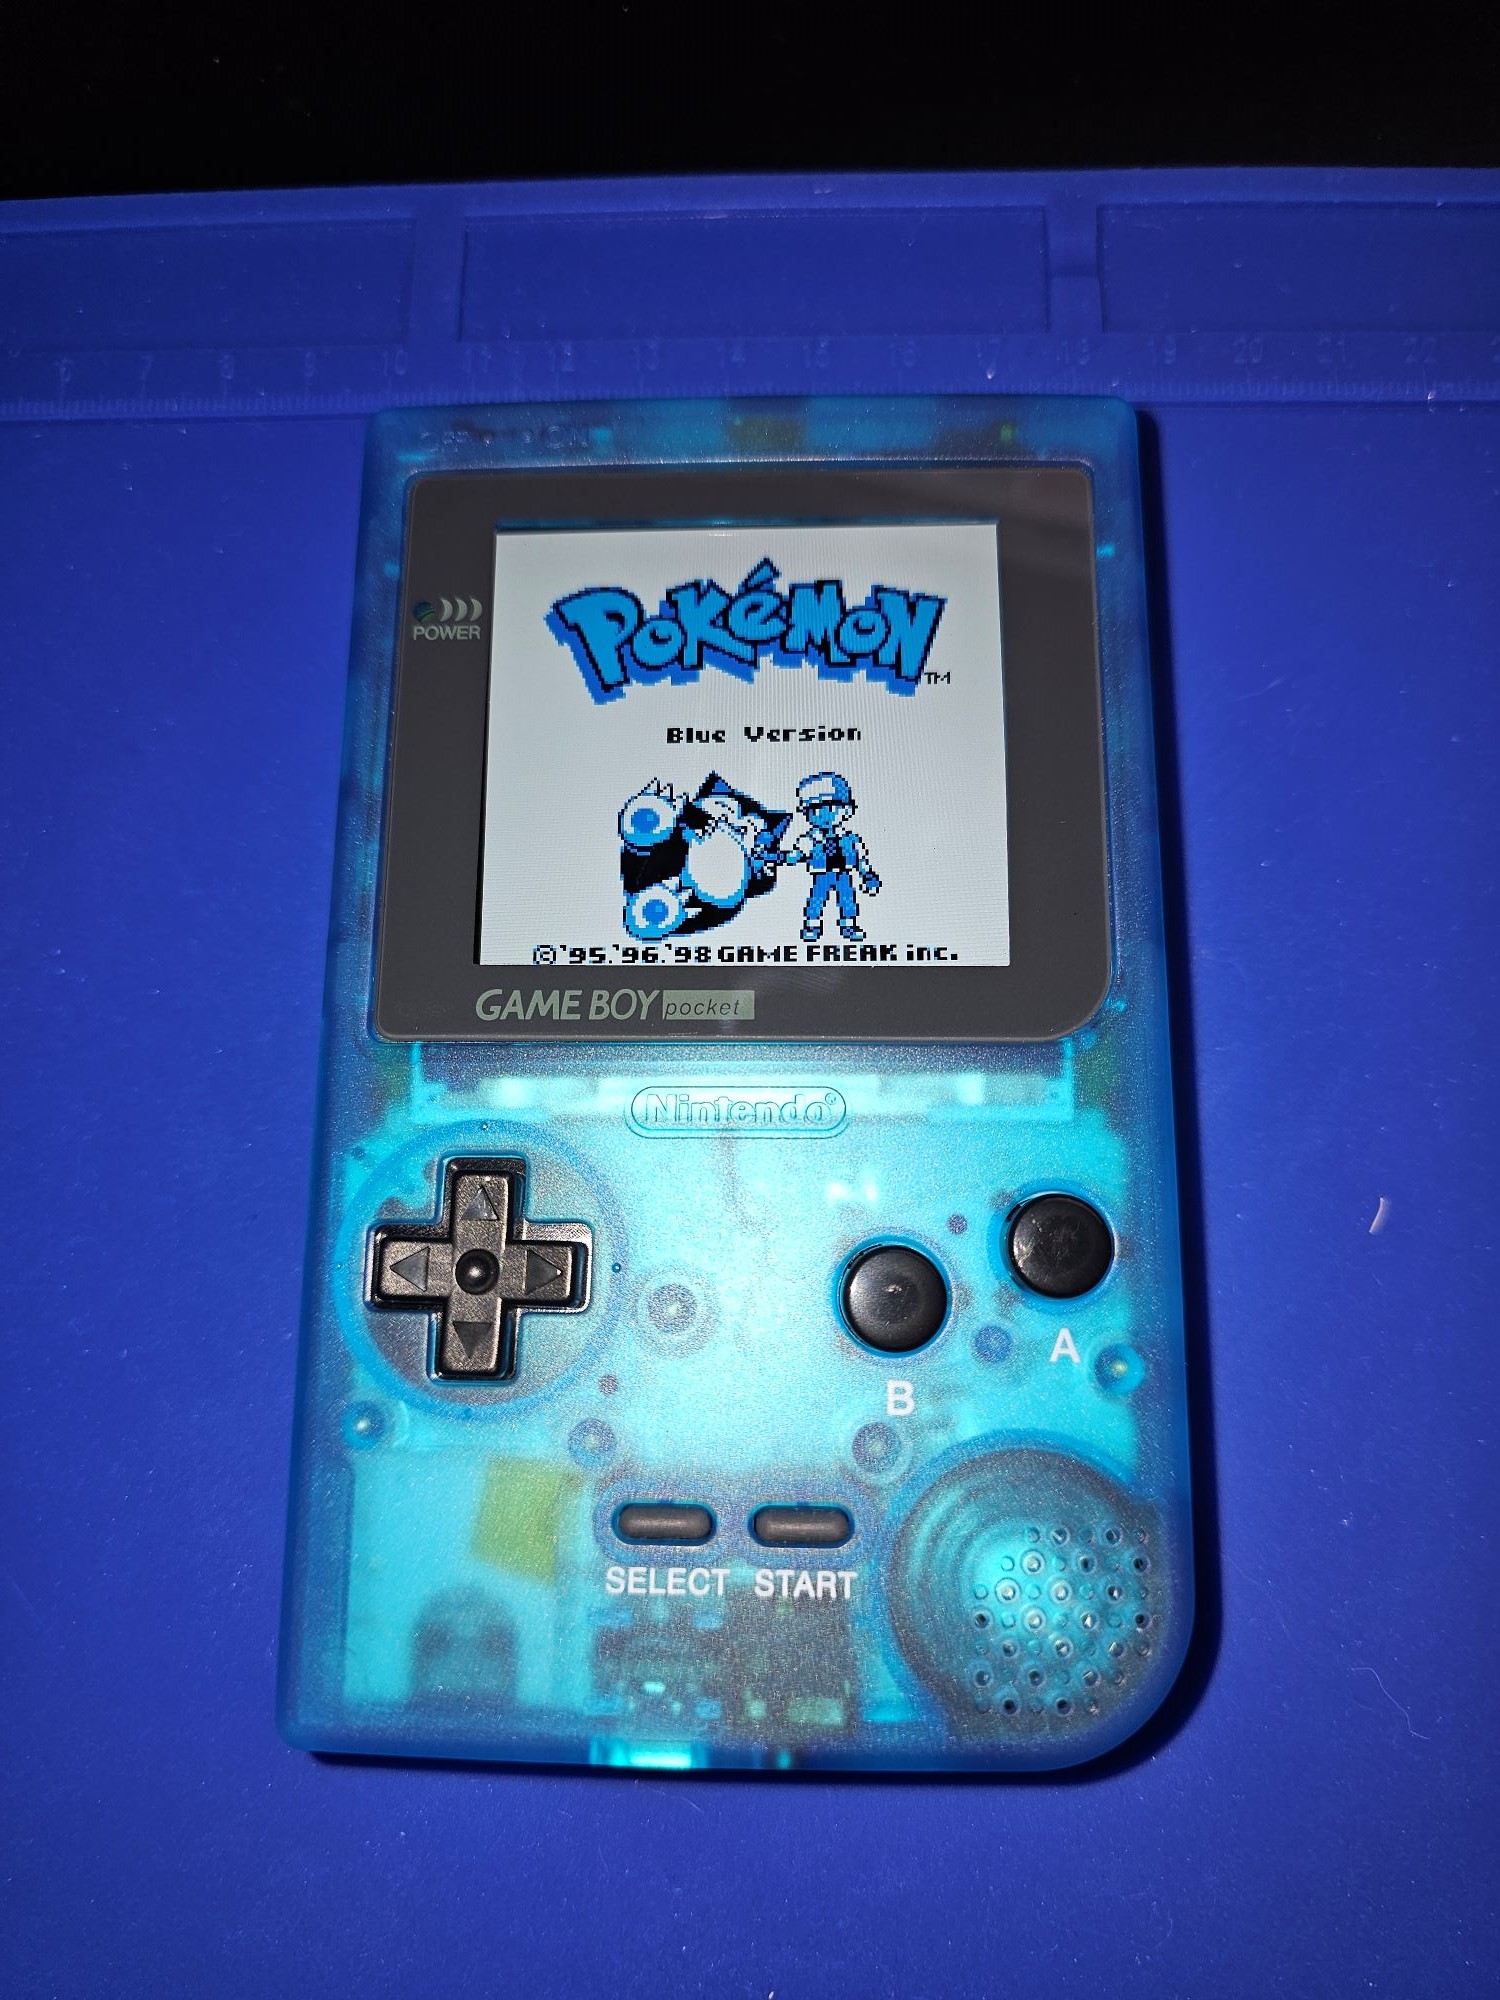
Modern IPS displays with backlighting require more power than the original display, and flash carts used to load tons of games can quickly drain the battery. To truly enjoy the games, it is recommended to use a rechargeable battery instead of AAA batteries.
However, simply using a rechargeable battery is not sufficient. The increased power consumption puts a strain on the original electronics, potentially causing noise in the speaker or headphones.
The typical solution is to add a charging circuit for the battery and a power converter to replace the old, inefficient one included in the GBP. Some individuals also add an audio amplifier to enhance the sound quality of the speaker. All these modifications make the GBP function optimally. However, installing them requires numerous cables and may be challenging for individuals without sufficient knowledge.
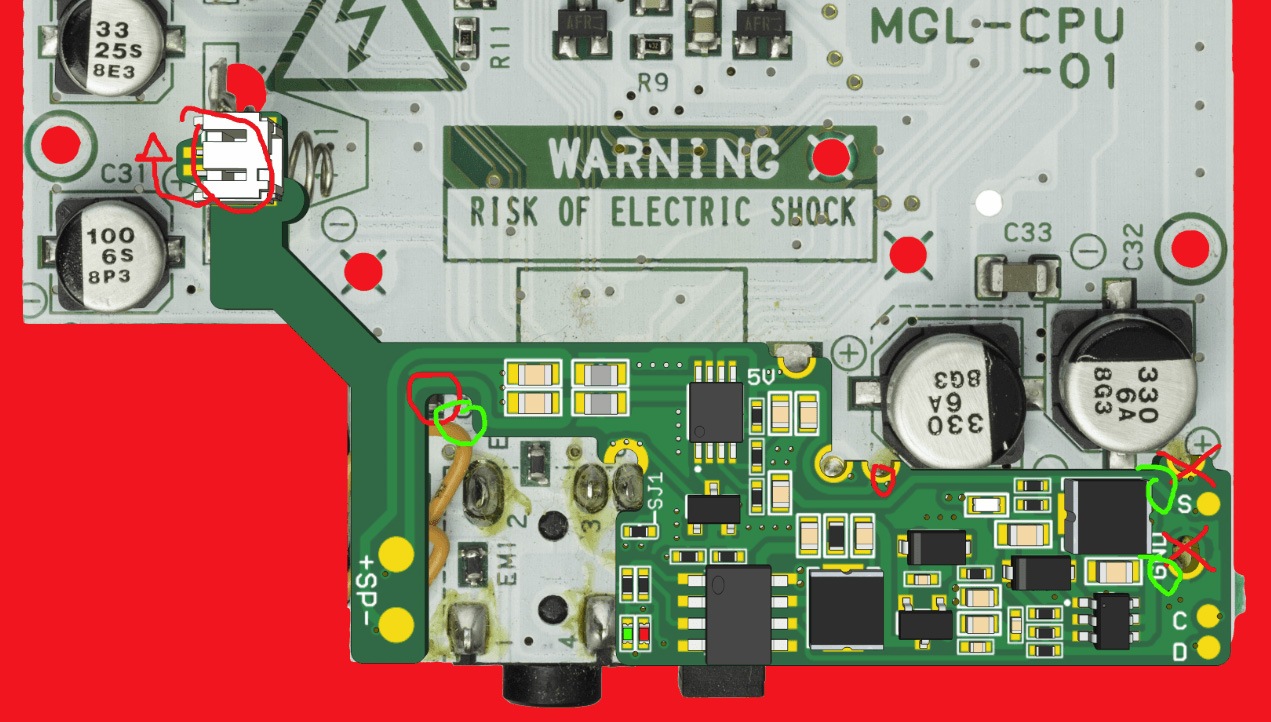
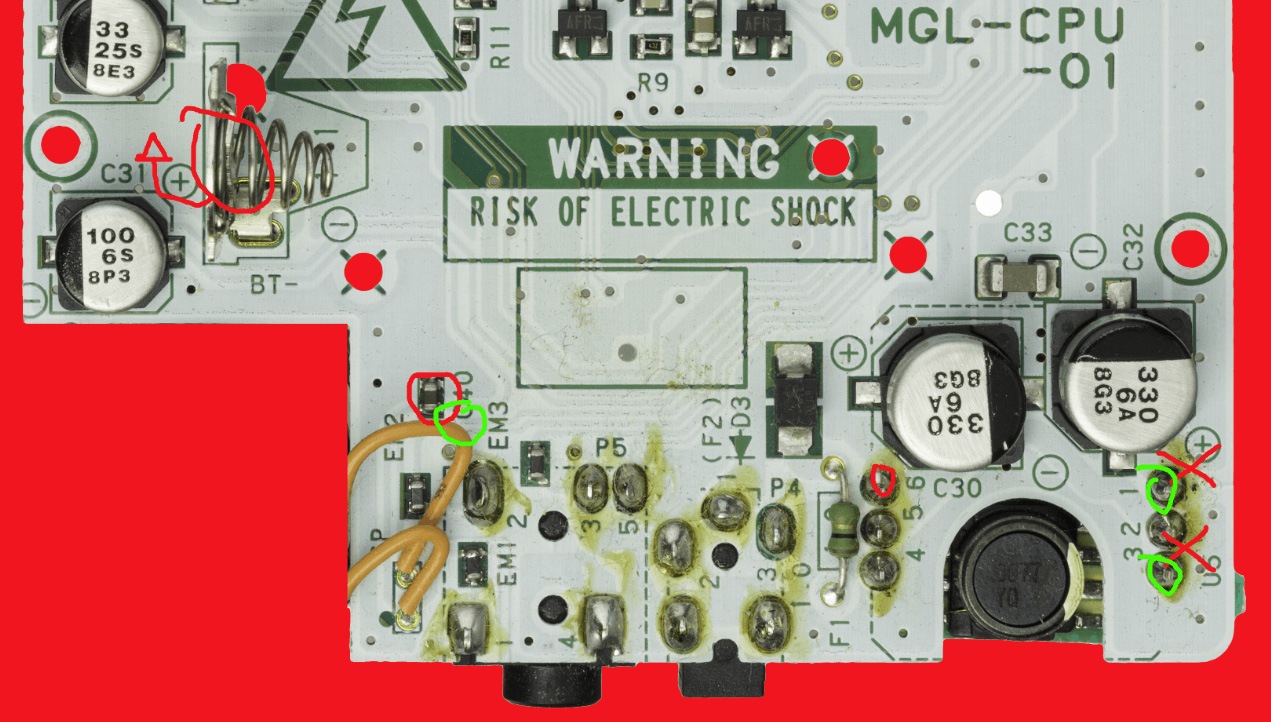
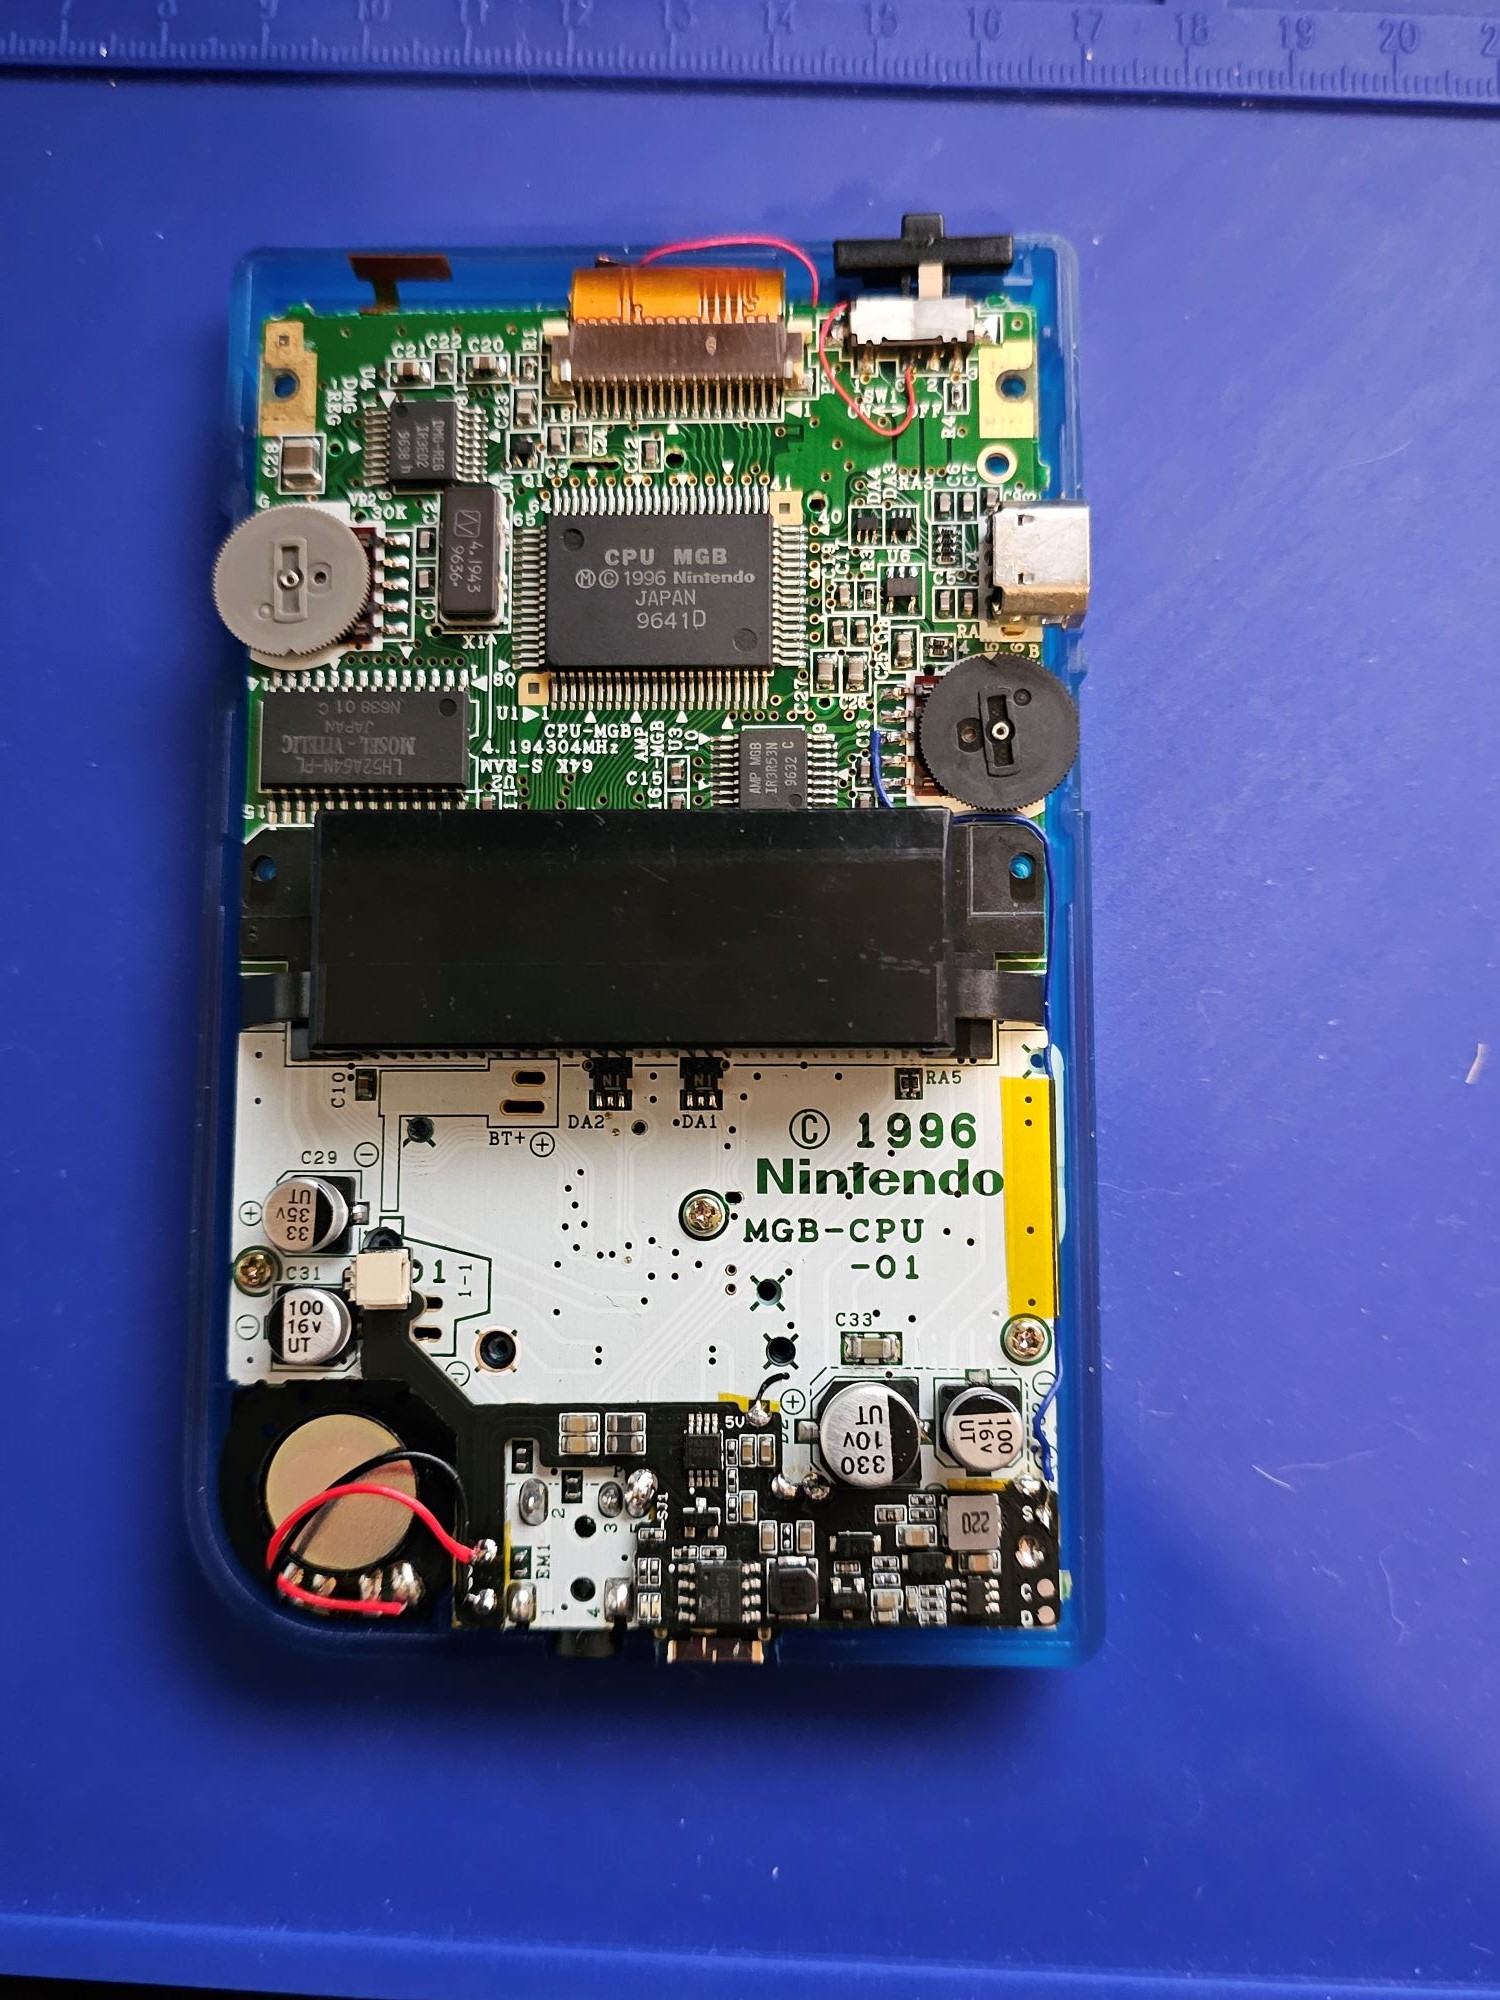
This board adds all these features with a clean and straightforward installation:
FEATURES
- Exact shape for Game Boy Pocket.
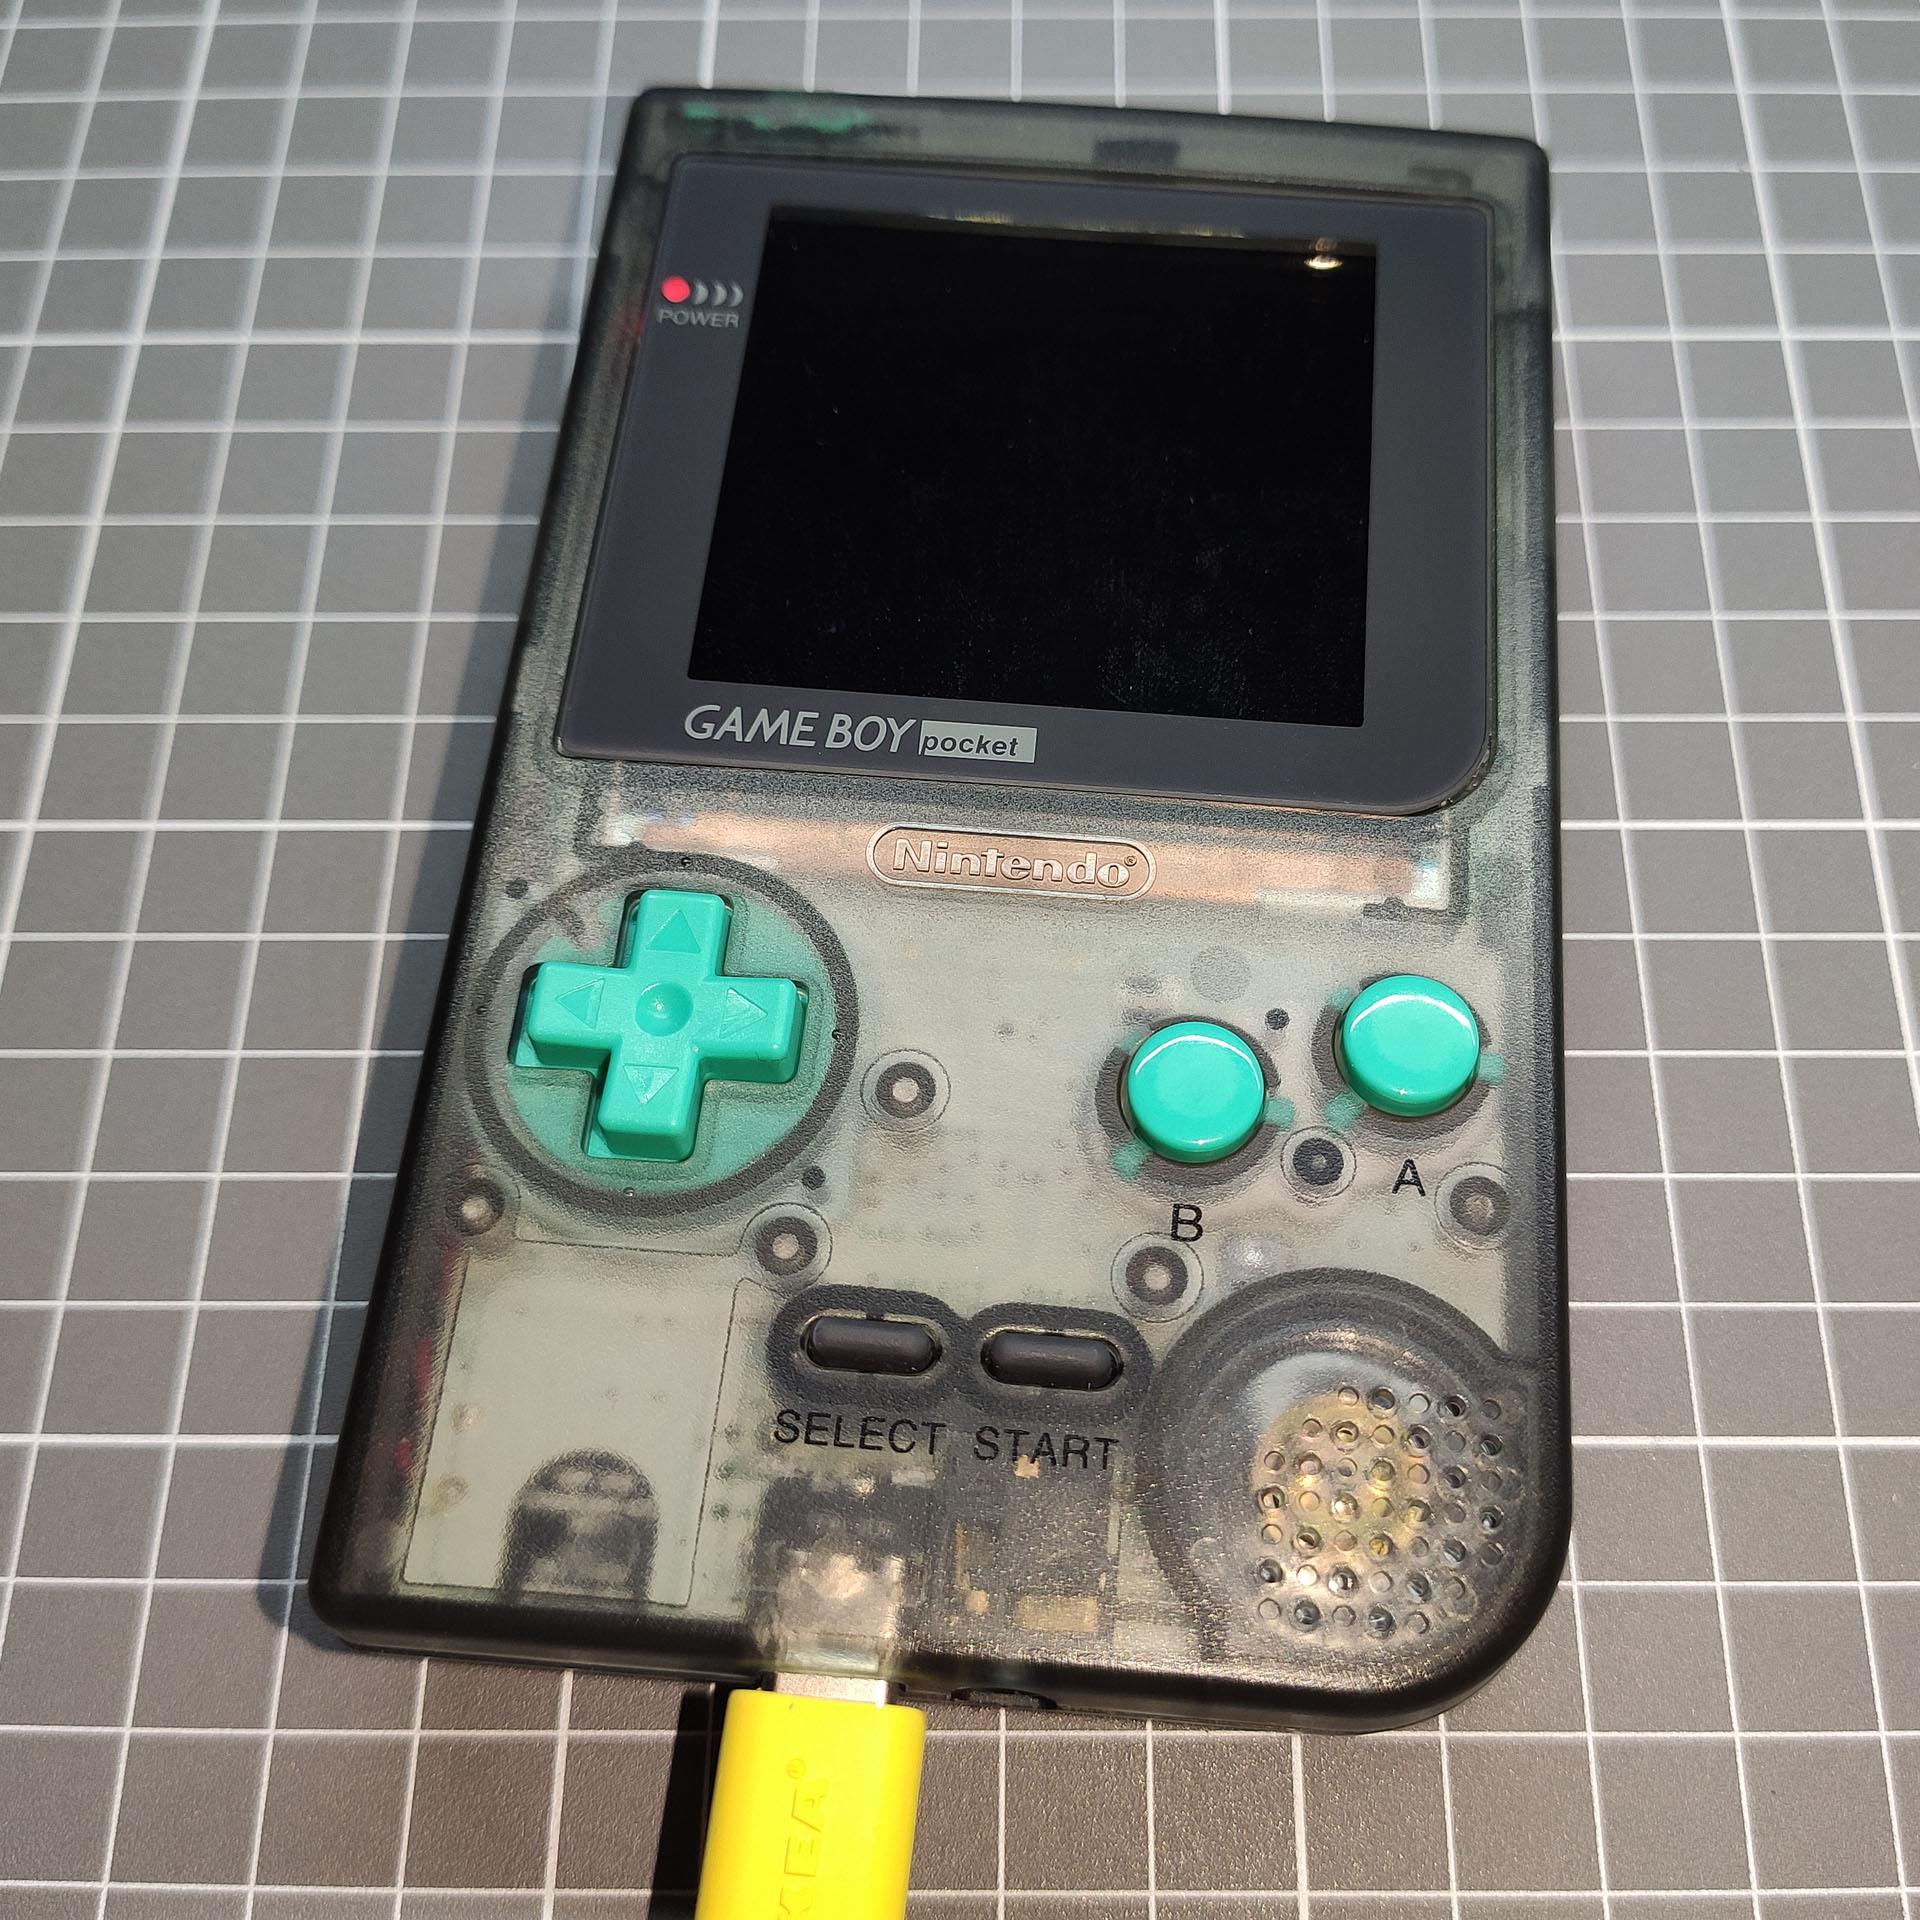
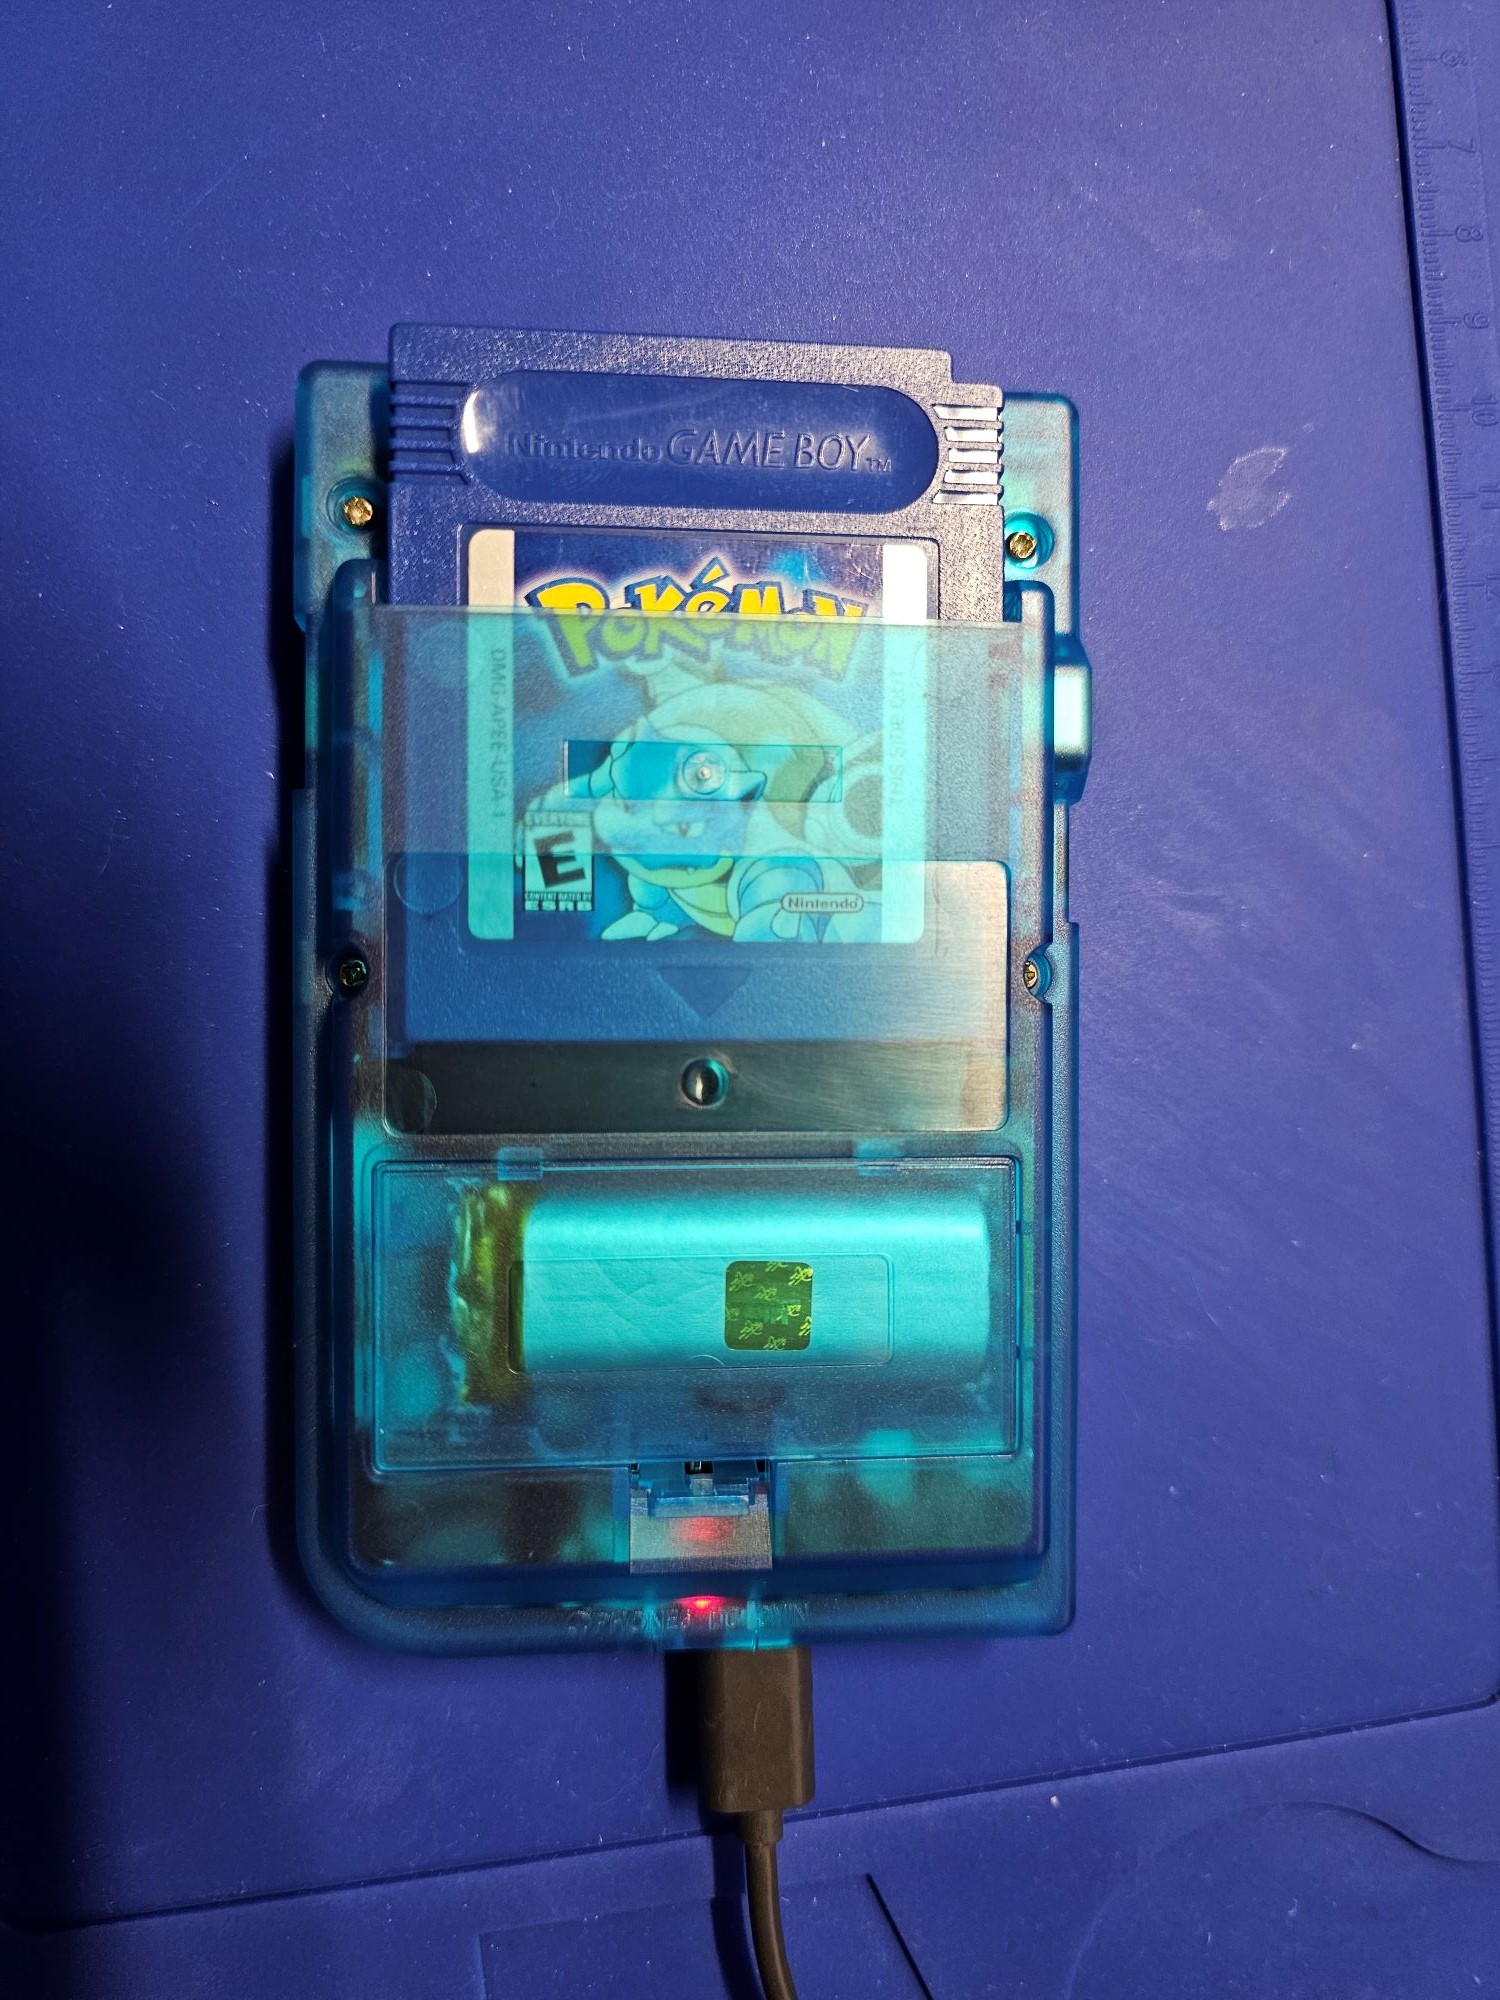
- External power through USB-C.(1)
- Compatibility with all types of USB cables or external batteries.
- Li-Ion battery charger with overvoltage and undervoltage protection.(1)
- Power DC converter with a 5V output.(2)
- Safe charge and play.
- Audio amplifier for the speaker.
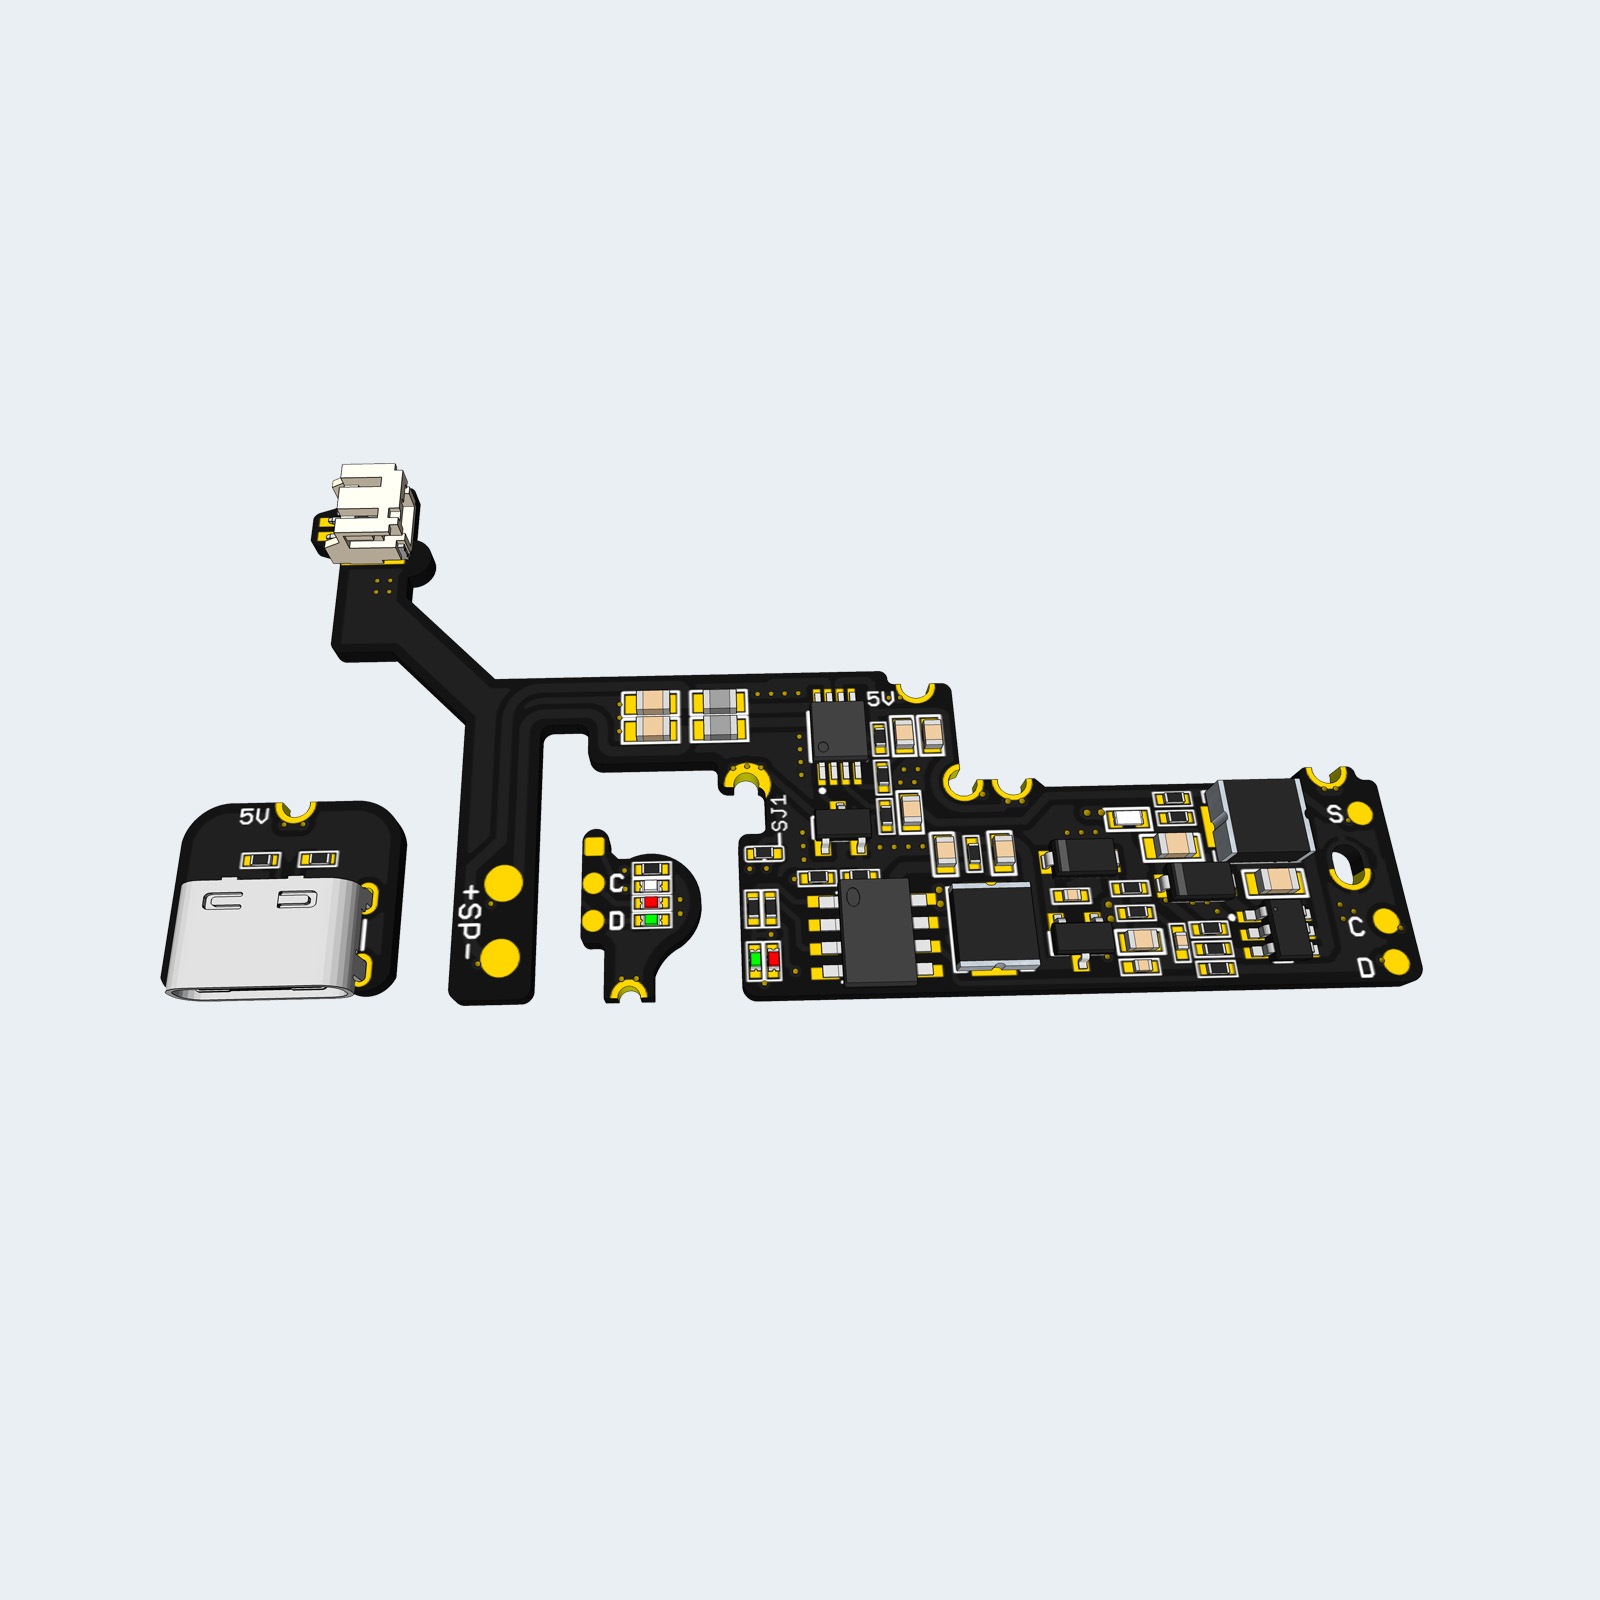
- Integrated LED indicators on the main board, next to the USB port, for charging (red) and full battery (green). These can be disabled via the SJ1 jumper.
- External LED indicators board for playing (white), charging (red), and full battery (green). Optional installation.
(1) The USB-C port and Li-ion battery require trimming of the shell.
(2) Provides stable power to your Game Boy, IPS screen, and flash cart. However, it doesn’t supply the -19V rail, which means the stock screen or the GBP IPS screen that adjusts brightness through the contrast wheel will not be able to change the brightness level and will remain at its maximum level.
INCLUDED
- 1 frame panel which includes the three boards:
- Main board.
- USB-C board.
- Light board.
- 1 battery cable (with JST SH1.0 connector)
- 1 two-wire cable for connecting the light board.
- 1 single-wire cable for connecting the board to the sound pad.
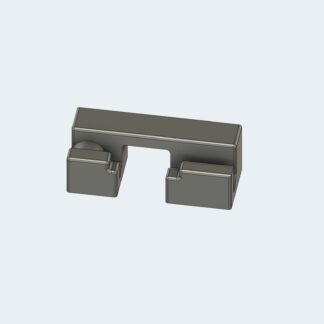
- 1 light diffuser pipe.
REQUIRED (NOT INCLUDED)
- Li-ion battery (for example, 102050)
- New 8Ω 1W speaker (optional but highly recommended to avoid noise, for example, this one)
- New capacitors (optional but recommended to avoid noise)
- Tri-wing and Phillips screwdrivers
- Cutting pliers
- Cutter
- Tweezers
- Soldering iron
- Tin
- Flux
- Isopropyl alcohol
NOTES
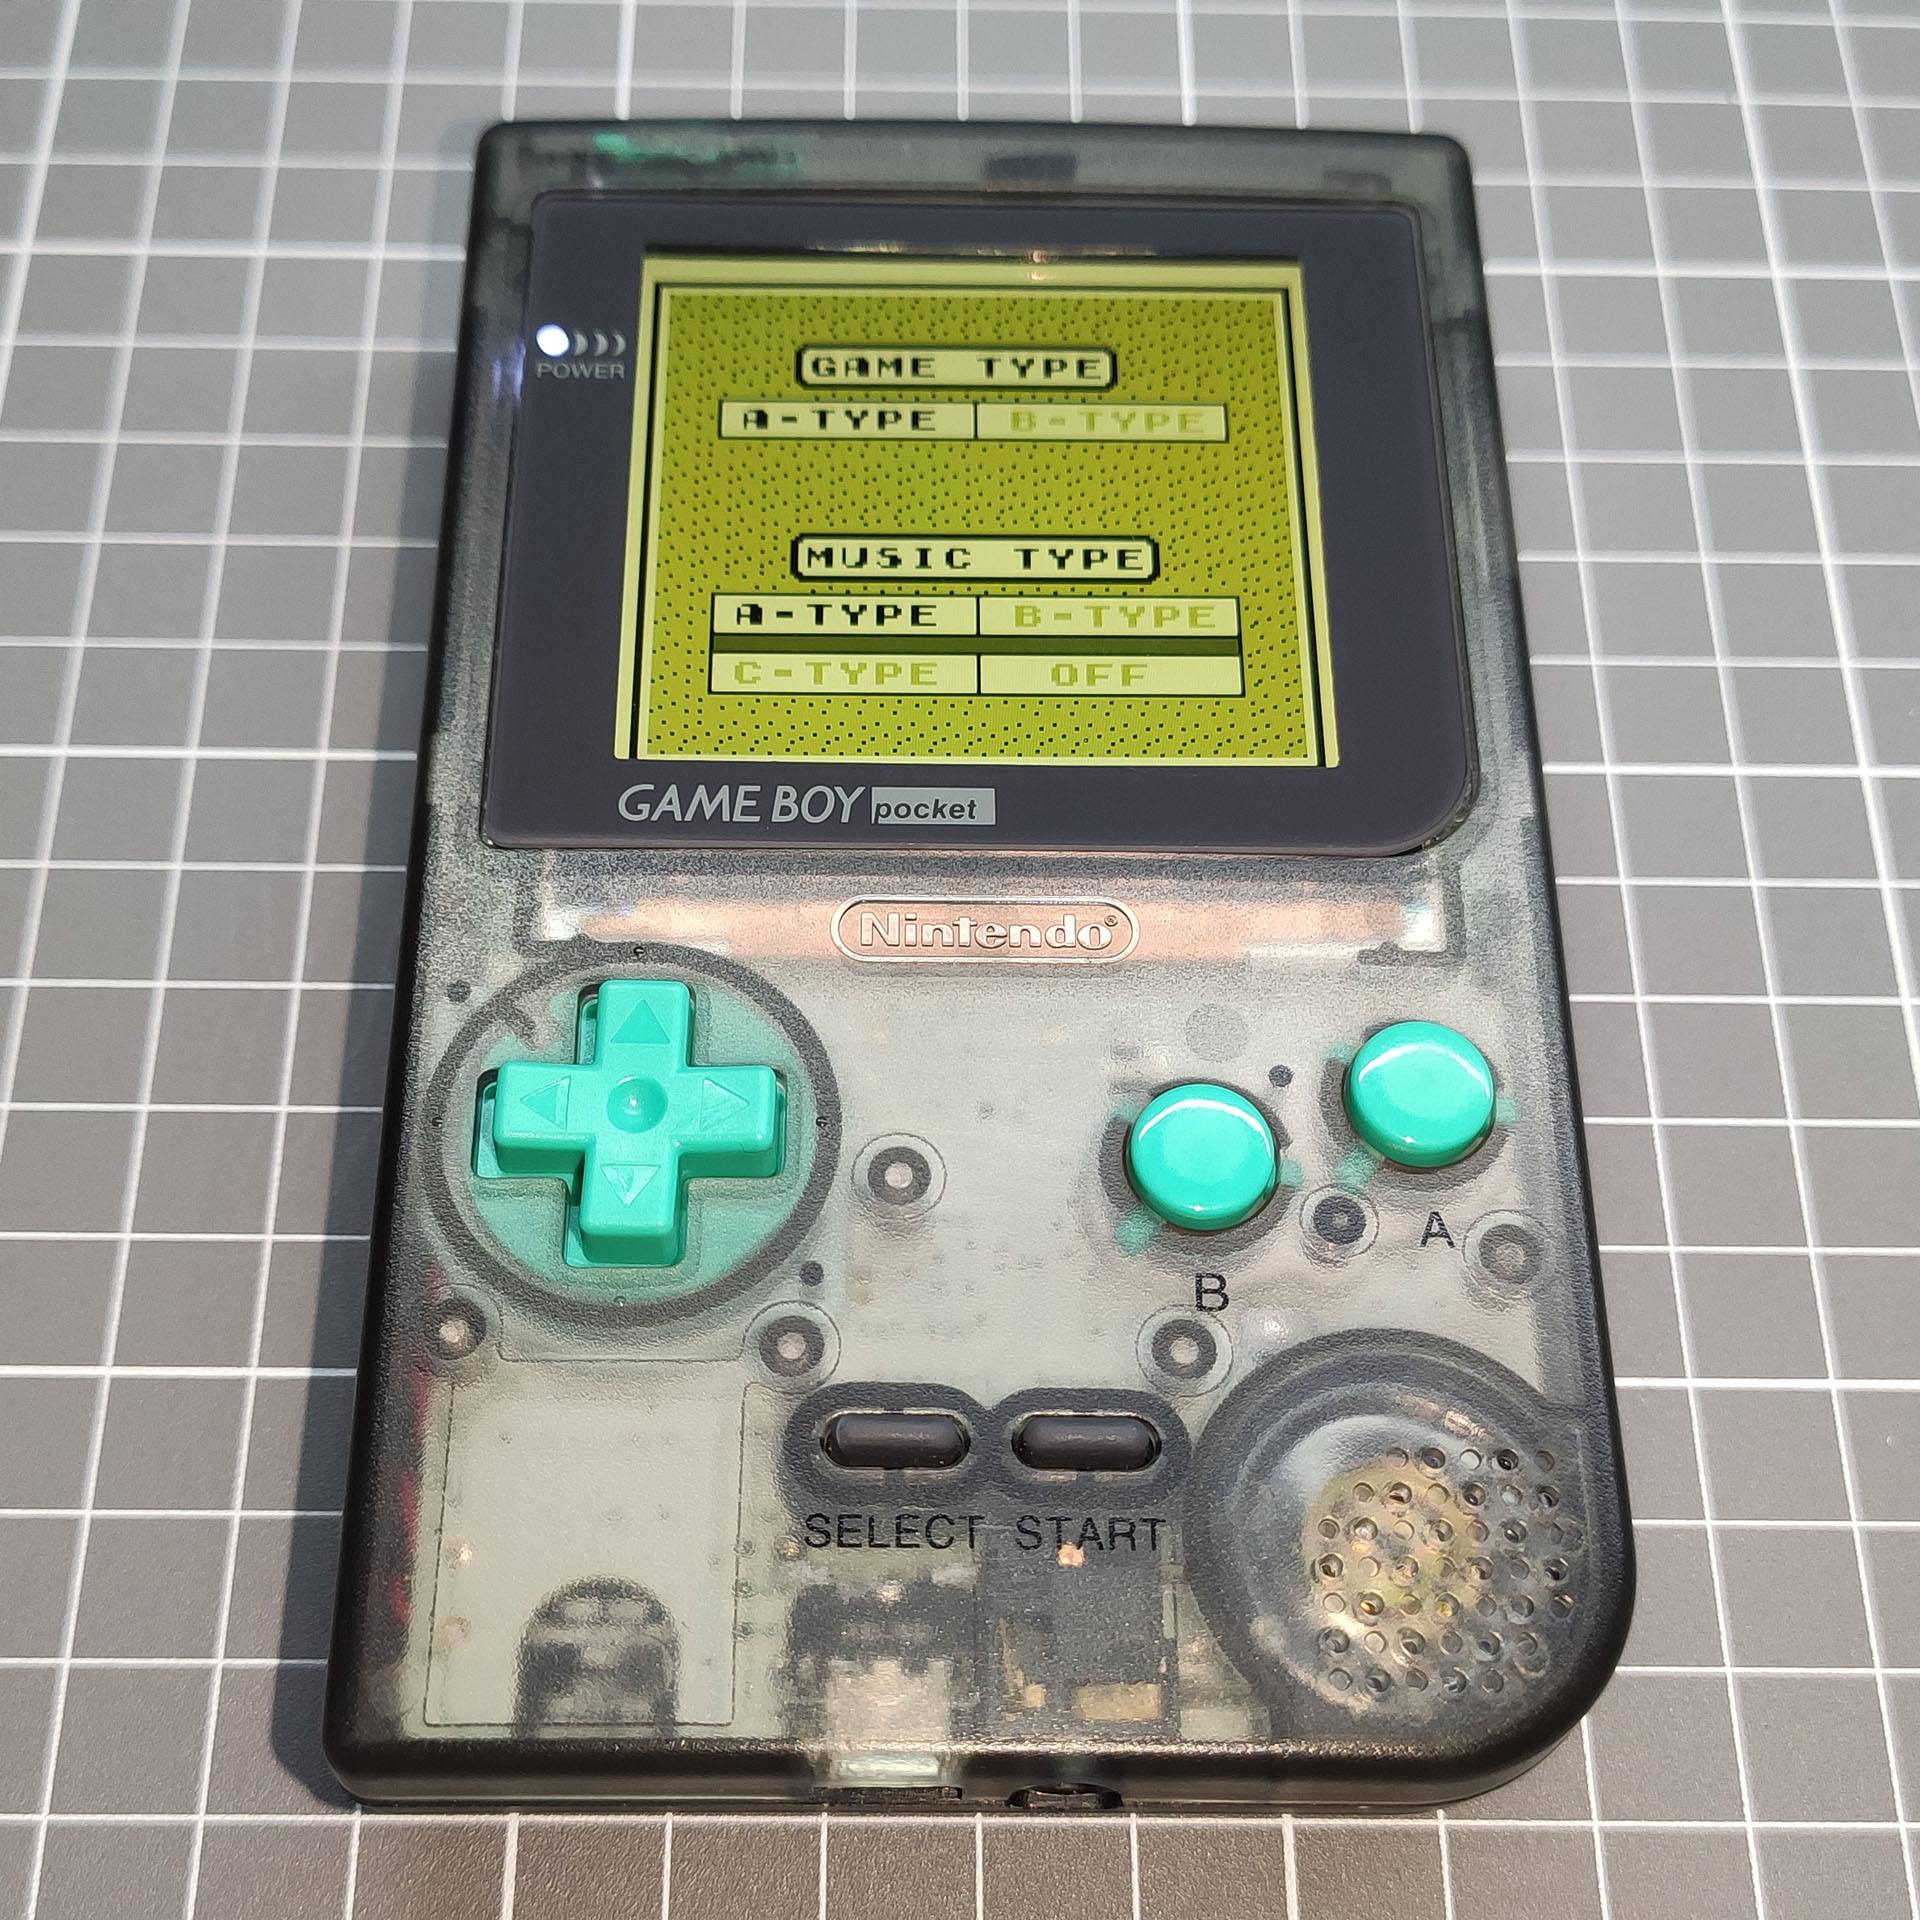
- The stock screen is not compatible with this module; only IPS screens will work with it.
- The contrast wheel doesn’t function because the -19V rail is not provided by this kit. This means that the GBP Retro Pixel IPS screen is unable to adjust its brightness. This board is recommended for IPS screens with a touch sensor designed for brightness control, for example, this one.
PRODUCT FEATURE OVERVIEW


Reviews
There are no reviews yet.